Master iPhone and iPad Parental Controls for Safer Screen Time
In today’s digital world, ensuring your children’s online safety is paramount. This guide will walk you through setting up robust parental controls on your iPhone or iPad, giving you peace of mind.
You’ll learn how to limit screen time, restrict app usage, manage communication, and prevent unwanted purchases or content. These features are designed to create a safer and more controlled digital environment for your kids.
Prerequisites
- An iPhone or iPad
- Access to the device’s Settings app
- Your Apple ID and password (if prompted)
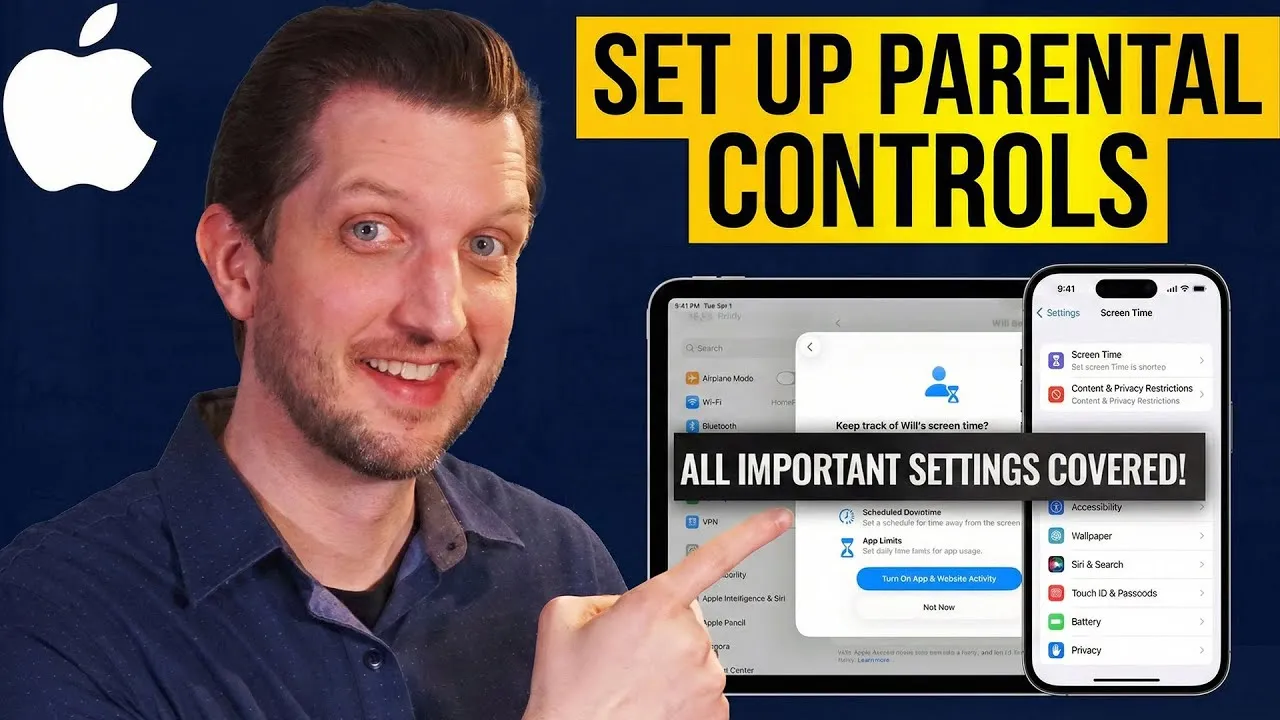
Step 1: Accessing Screen Time Settings
The first step is to navigate to the ‘Screen Time’ feature within your device’s settings. This central hub allows you to manage all aspects of your child’s device usage.
- Open the Settings app on your iPhone or iPad.
- Scroll down and tap on Screen Time.
- If Screen Time is not yet enabled, you will see an option to ‘Turn On Screen Time’. Tap this and follow the on-screen prompts. You’ll be asked to set up Screen Time for ‘This is My [Device]’ or ‘This is My Child’s [Device]’. Choose the latter if you are setting this up for your child.
Step 2: Setting Downtime Schedules
Downtime allows you to schedule periods when the device is less accessible, except for apps you specifically allow. This is ideal for bedtime or homework hours.
- Within the Screen Time menu, tap on Downtime.
- Toggle the switch to On to schedule downtime.
- You can choose to apply the same schedule Every Day or customize it for specific days of the week.
- Set the start and end times for your desired downtime. For example, you might set it from 7:00 PM to 7:00 AM to ensure no usage during sleeping hours, or from 7:00 PM to 3:00 PM the next day if your child gets home from school at 3 PM.
- Tap Done to save your schedule.
Expert Tip: Customizing downtime for weekdays and weekends can be beneficial, allowing for more flexibility on non-school days.
Step 3: Managing ‘Always Allowed’ Apps
Even during Downtime, you might want certain essential apps to remain accessible. This section lets you choose which apps are exempt from downtime restrictions.
- In the Screen Time menu, tap on Always Allowed.
- By default, some essential apps like Phone, Messages, and FaceTime might already be selected.
- Tap the green plus (+) button next to any app you wish to add to the always allowed list.
- Tap the red minus (-) button next to any app you want to remove from this list.
Recommendation: It’s often wise to keep communication apps like Phone and Messages available, especially if your child needs to reach you or vice versa during downtime.
Step 4: Setting App Limits
App Limits allow you to restrict the amount of time a child can spend on specific apps or categories of apps each day.
- Navigate back to the main Screen Time menu and tap on App Limits.
- Tap Add Limit.
- You can choose to set limits for individual apps, or for categories of apps (e.g., ‘Games’, ‘Social Networking’, ‘Entertainment’).
- Select the app or category you want to limit, then tap Next.
- Set the daily time limit (e.g., 1 hour for Games, 2 hours for Social Networking).
- Tap Add to save the limit. You can add multiple limits for different apps or categories.
Warning: Be mindful when setting limits. Ensure they are reasonable and allow enough time for essential tasks or approved entertainment.
Step 5: Configuring Communication Limits
This feature allows you to control who your child can communicate with, both during regular use and during downtime.
- In the Screen Time menu, tap on Communication Limits.
- Under ‘During Screen Time’, you can choose who they can communicate with. Options include ‘Contacts Only’, or specific contacts.
- Under ‘During Downtime’, you can also specify who they can communicate with. Selecting ‘Contacts Only’ is a common choice to ensure they can only reach people already in their address book.
Step 6: Enabling Communication Safety
Communication Safety helps protect your child from potentially inappropriate content shared via messages.
- In the Screen Time menu, tap on Communication Safety.
- Toggle the switch to On.
- When enabled, the device will use on-device analysis to detect if a child receives or sends explicit images or videos. If detected, the content will be blurred, and your child will be given an option to report it.
Note: This feature helps filter out unwanted or sensitive material, providing an extra layer of protection.
Step 7: Setting Up Content & Privacy Restrictions
This section is crucial for controlling the types of content your child can access and the actions they can perform on the device.
- In the Screen Time menu, tap on Content & Privacy Restrictions.
- Toggle the switch to On. You will likely be prompted to enter your Screen Time passcode (which you’ll set up shortly if you haven’t already).
- iTunes & App Store Purchases: Tap this to control app installations, deletions, and in-app purchases. You can set them to ‘Don’t Allow’, or require a password for changes.
- Allowed Apps: You can choose to disable access to built-in apps like Safari, Camera, or FaceTime.
- Content Restrictions: This is where you can limit explicit content, set age ratings for apps and games, and restrict web content.
Step 8: Securing Screen Time Settings with a Passcode
To prevent your child from changing these settings, you must set a passcode.
- Scroll down in the Screen Time menu to Use Screen Time Passcode.
- Tap on it and create a 4-digit passcode.
- You will be prompted to enter your Apple ID and password. This is important so you can reset the Screen Time passcode if you forget it.
Important: Choose a passcode that your child cannot easily guess or figure out. If they are old enough to know your current passcode, consider changing it.
Step 9: Syncing Across Devices
If you have multiple Apple devices (e.g., an iPhone and an iPad) that your child uses, you can sync these settings.
- In the main Screen Time menu, look for the option Share Across Devices.
- Toggle this option to On.
- Once enabled, any Screen Time settings you configure on one device will automatically apply to other devices where you are signed in with the same Apple ID and have Screen Time enabled.
By following these steps, you can effectively set up parental controls on your iPhone or iPad, ensuring a safer and more manageable digital experience for your children. You can now rest assured that their device usage is within your desired boundaries.
Source: How to Set Up Parental Controls on iPhone or iPad (YouTube)