Build a Chatbot with Tanstack AI: Server & Client Tools
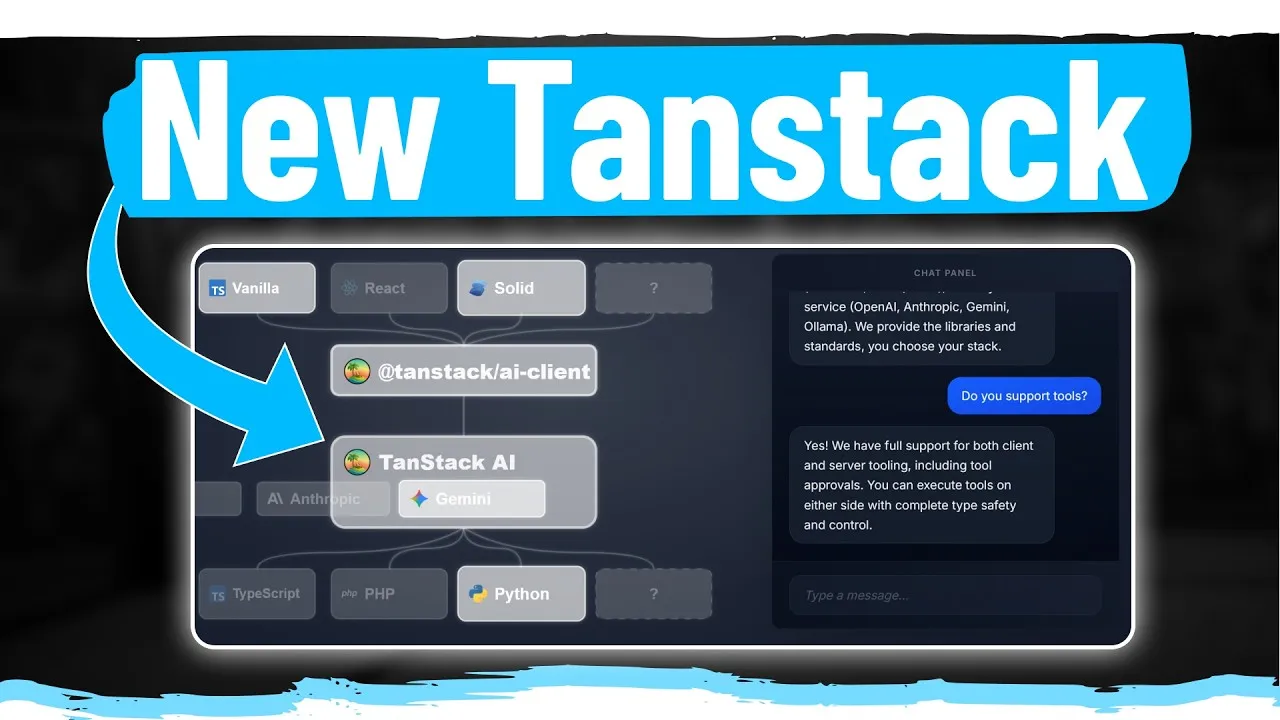
Tanstack has released a powerful new AI library that simplifies integrating AI into your applications, regardless of your chosen framework or existing AI tools. This guide will walk you through setting up a functional chatbot, leveraging unique features like server-side and client-side tool execution.
Overview of What You’ll Learn
In this tutorial, you will learn how to:
- Install and set up the Tanstack AI library with a specific AI adapter (e.g., Gemini, OpenAI).
- Implement a basic chat interface using the
useChathook. - Handle AI requests and responses on the server using the
chatfunction. - Define and implement server-side tools for your AI to interact with data (e.g., databases, APIs).
- Define and implement client-side tools for your AI to interact with the user’s browser environment (e.g., local storage).
- Understand the structure of tool definitions and implementations.
- Utilize Tanstack AI’s developer tools for debugging.
Prerequisites
- Basic understanding of React.
- Node.js and npm/yarn installed.
- An API key for your chosen AI service (e.g., Google AI Studio for Gemini, OpenAI API key).
Step 1: Installation and Setup
Getting started with Tanstack AI is straightforward. You’ll need to install the core library, the framework-specific adapter (if applicable), and the adapter for your chosen AI provider.
To install the necessary packages, run the following command in your project terminal:
npm install @tanstack/ai @tanstack/react-ai @tanstack/ai-gemini
# Or for OpenAI:
# npm install @tanstack/ai @tanstack/react-ai @tanstack/ai-openai
Replace @tanstack/ai-gemini with the appropriate adapter for your AI model (e.g., @tanstack/ai-openai for OpenAI).
Step 2: Basic Chat Interface Setup
The core of your chat application will involve setting up state for user input and utilizing the useChat hook provided by @tanstack/react-ai. This hook manages the chat state, including messages, loading status, and the function to send messages.
In your chat component (e.g., Chat.tsx), you’ll typically have:
- Input State: A simple React state variable to manage the user’s input in the message field.
useChatHook: This hook, imported from@tanstack/react-ai, provides essential properties:loading: A boolean indicating if the AI is currently processing a request.sendMessage: A function to send the user’s message to the AI.messages: An array containing all messages exchanged between the user and the AI.
- Connection Configuration: You need to tell the
useChathook where to send messages for processing. This is done by providing aconnectionoption, which typically usesfetchSSEfrom the same library. This requires a URL to your server-side API endpoint (e.g.,/api/chat).
Here’s a simplified example of the client-side setup:
import { useChat } from '@tanstack/react-ai';
import { fetchSSE } from '@tanstack/react-ai';
function ChatComponent() {
const { messages, sendMessage, loading } = useChat({
connection: {
fetch: (url, options) => fetchSSE(url, options),
url: '/api/chat',
},
});
const handleSendMessage = (input) => {
sendMessage(input);
};
return (
{messages.map((msg, index) => (
{msg.role}: {msg.content}
))}
);
}
Step 3: Server-Side API Endpoint
The server-side endpoint (e.g., /api/chat) is responsible for receiving messages from the client and interacting with the AI model.
Inside this endpoint:
- Retrieve API Key: Securely get your AI provider’s API key.
- Extract Messages: Obtain the conversation history (
messages) andconversationIdfrom the incoming request. These are automatically provided by theuseChathook. - Call the
chatFunction: This is the core function from the@tanstack/ailibrary. You’ll configure it with:- Adapter: Specify which AI provider to use (e.g.,
gemini(),openai()). - Model Name: The specific model you want to use (e.g., ‘gemini-pro’, ‘gpt-4’).
- Messages & Conversation ID: Pass the conversation history.
- Tools: (Optional) An array of tool definitions the AI can use.
- Adapter: Specify which AI provider to use (e.g.,
- Stream Response: Use
streamResponse, also from the@tanstack/ailibrary, to send the AI’s response back to the client in a streaming fashion. - Error Handling: Implement robust error logging and handling.
Example server-side (e.g., in a Next.js API route):
import { chat, streamResponse } from '@tanstack/ai';
import { gemini } from '@tanstack/ai-gemini'; // Or openai from '@tanstack/ai-openai'

// Assuming you have a function to get your API key and tools
async function POST({ request }) {
 const { messages, conversationId } = await request.json();
 const apiKey = process.env.GEMINI_API_KEY; // Ensure this is securely managed

 if (!apiKey) {
 return new Response('AI API key not configured', { status: 500 });
 }

 const ai = gemini({ apiKey }); // Or openai({ apiKey })

 try {
 const stream = await chat({
 // adapter: ai, // This might be configured directly in gemini() or openai()
 model: ai.get({ model: 'gemini-pro' }), // Specify model
 messages,
 conversationId,
 // tools: [yourToolDefinition1, yourToolDefinition2] // If using tools
 });

 return streamResponse(stream);
 } catch (error) {
 console.error('Error in chat API:', error);
 return new Response('Failed to generate response', { status: 500 });
 }
}
Expert Note: The chat function orchestrates the AI interaction. It handles prompt engineering, context management, and tool invocation based on the provided messages and tool definitions.
Step 4: Implementing Server-Side Tools
Tools allow your AI to perform actions, such as fetching data from a database or calling an external API. You define a tool’s capabilities and then provide an implementation for how it should execute.
Tool Definition
Each tool requires a definition using the toolDefinition function from @tanstack/ai. Key properties include:
name: A unique identifier for the tool.description: A clear explanation of what the tool does, which the AI uses to decide when to call it.inputSchema: Defines the expected input parameters for the tool, often using a schema validation library like Zod or JSON Schema.outputSchema: (Optional) Defines the structure of the data the tool returns.needsApproval: (Optional) A boolean. If set totrue, the AI will prompt the user for confirmation before executing the tool, useful for sensitive operations.
Example getTodos tool definition:
import { toolDefinition } from '@tanstack/ai';
import { z } from 'zod';

export const getTodosTool = toolDefinition({
 name: 'getTodos',
 description: 'Fetches a list of to-dos from the database.',
 inputSchema: z.object({
 query: z.string().optional(), // Optional search query
 }),
 outputSchema: z.array(z.object({
 id: z.number(),
 title: z.string(),
 completed: z.boolean(),
 })),
});
Tool Implementation
Once defined, you need to provide the actual code that executes the tool. For server-side tools, this involves a server function.
Example server-side implementation for getTodosTool:
import { serverTool } from '@tanstack/ai';
import { getTodosTool } from './definitions'; // Assuming definition is in a separate file

// This function will be called by the AI when getTodosTool is invoked
const getTodosImplementation = serverTool({
 tool: getTodosTool,
 execute: async ({ input }) => {
 // Here you would query your database or API
 // For example, using JSONPlaceholder API:
 const response = await fetch(`https://jsonplaceholder.typicode.com/todos?q=${input?.query || ''}`);
 const todos = await response.json();
 return todos;
 },
});

// On your server API endpoint, you would pass this implementation:
// const stream = await chat({
// // ... Other options
// tools: [getTodosImplementation]
// });
Tip: Use Zod or a similar library for robust input and output validation. This ensures the AI provides data in the expected format and prevents errors.
Step 5: Implementing Client-Side Tools
Client-side tools enable the AI to interact directly with the user’s browser environment, such as updating the UI, interacting with local storage, or triggering client-side events.
Tool Definition (Client)
The definition for a client-side tool is the same as for a server-side tool. You create a toolDefinition object.
Example updateCounter tool definition:
import { toolDefinition } from '@tanstack/ai';
import { z } from 'zod';

export const updateCounterTool = toolDefinition({
 name: 'updateCounter',
 description: 'Updates the local counter value stored in local storage.',
 inputSchema: z.object({
 count: z.number(),
 }),
 outputSchema: z.object({
 success: z.boolean(),
 }),
});
Tool Implementation (Client)
For client-side tools, you create an implementation that runs in the browser. This is done by defining a function that directly manipulates the client-side state or DOM.
Example client-side implementation for updateCounterTool:
import { clientTool } from '@tanstack/ai';
import { updateCounterTool } from './definitions'; // Assuming definition is in a separate file

// This function will be called by the AI when updateCounterTool is invoked on the client
const updateCounterImplementation = clientTool({
 tool: updateCounterTool,
 execute: async ({ input }) => {
 localStorage.setItem('counter', input.count.toString());
 return { success: true };
 },
});

// On your client component, you'll pass this implementation:
// const { messages, sendMessage } = useChat({
// // ... Connection config
// clientTools: [updateCounterImplementation]
// });
When setting up your useChat hook on the client, you pass these client-side tool implementations via the clientTools option.
import { useChat } from '@tanstack/react-ai';
import { fetchSSE } from '@tanstack/react-ai';
import { updateCounterImplementation } from './clientTools'; // Your client tool implementation

function ChatComponent() {
 const {
 messages,
 sendMessage,
 loading,
 // ... Other hooks properties
 } = useChat({
 connection: {
 fetch: (url, options) => fetchSSE(url, options),
 url: '/api/chat',
 },
 clientTools: [updateCounterImplementation], // Pass client tools here
 });

 // ...
Rest of your component
}
Warning: Be cautious with client-side tools that modify sensitive data or perform actions with side effects. Ensure proper user confirmation if necessary, potentially using the needsApproval flag in the tool definition.
Step 6: Utilizing Tanstack AI DevTools
Tanstack AI provides developer tools to help you inspect and debug your AI interactions.
Accessing these tools typically involves:
- Importing and rendering the
TanstackAIProviderandTanstackAIDevtoolscomponents in your application's root or a relevant context provider. - The devtools allow you to view AI requests, responses, tool calls, and any errors that occur during the process, making it much easier to understand the flow and troubleshoot issues.
Conclusion
Tanstack AI offers a remarkably simple yet powerful way to integrate AI capabilities into your applications. With just a few hundred lines of code, you can build a functional chatbot that can execute tasks on both the server and the client.
The library's alpha status suggests even more exciting features are on the horizon, including headless UI components that will further reduce boilerplate code. Tanstack's proven track record in delivering high-quality software makes this library a promising tool for developers looking to leverage AI effectively.
Source: NEW Tanstack AI Library is Amazing! (YouTube)