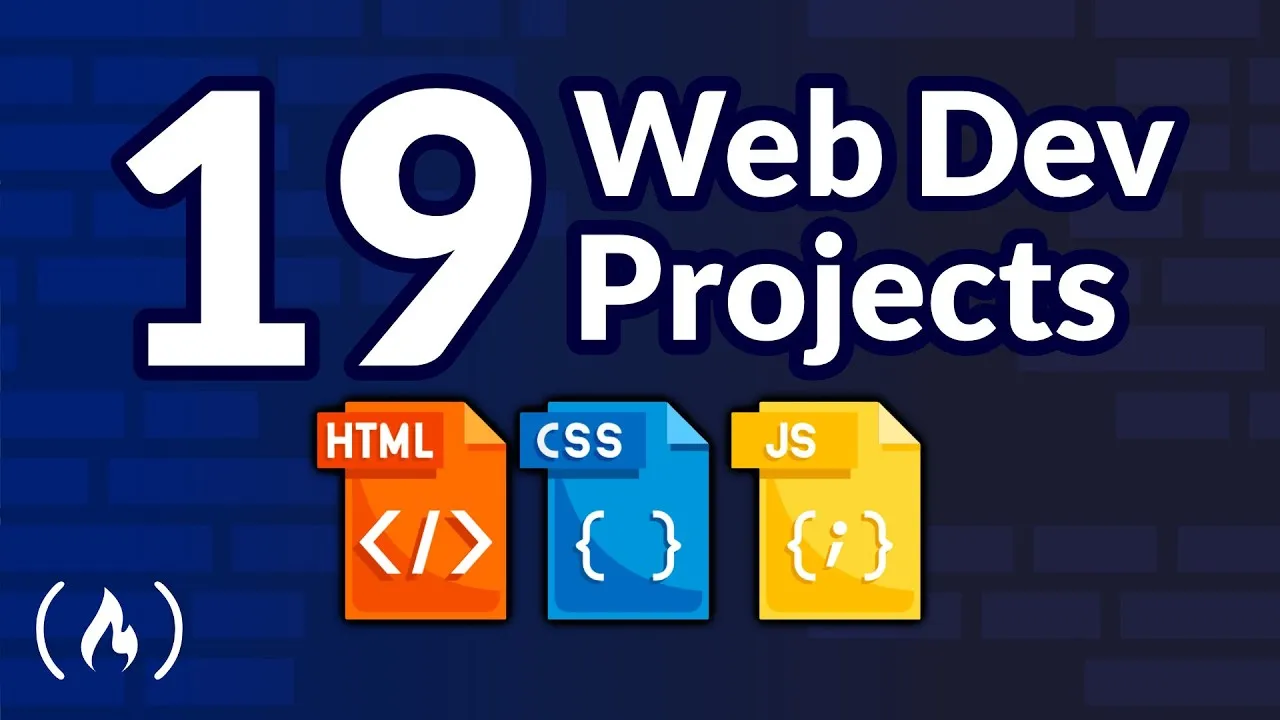
Learn to Code by Building Real Projects Every Day
This course is designed to help you master HTML, CSS, and JavaScript by building a wide variety of practical web development projects. You’ll learn by doing, creating everything from simple UI components to complex API-powered applications.
What You’ll Learn
By the end of this course, you’ll have a strong understanding of core web technologies and the confidence to build your own projects from scratch. You will have a portfolio of 100 completed projects to showcase your skills.
Projects include:
- E-commerce shopping cart
- Weightless UI
- QR code generator
- OTP input fields
- FAQ accordions
- Light and dark mode toggles
- Password visibility toggles
- Order history pages
- Progress steps
- Team member sections
- Star ratings
- Pricing cards
- Contact forms
- Credit card formatters
- Custom 404 page UI
- And many more real-world applications.
Prerequisites
You should have a basic understanding of HTML, CSS, and JavaScript. No advanced knowledge is required.
Setting Up Your Workspace
Before you start coding, it’s important to set up your development environment. This tutorial uses Visual Studio Code (VS Code) as the code editor.
1. Install VS Code
If you don’t have VS Code installed, search for “VS Code” online and download it from the official website. The installation process is straightforward for Windows, Mac, and Linux.
2. Essential VS Code Extensions
These extensions will enhance your coding experience and streamline your workflow.
Houston Theme
For a clean and visually appealing interface. Install it and set it as your color theme.
Live Server
This extension is crucial. It allows you to open your HTML files with a live preview server. When you save changes, the browser automatically reloads, saving you manual refresh steps.
How to use: Right-click your HTML file and select “Open with Live Server”.
Google Fonts
This extension lets you easily import Google Fonts directly within VS Code. Use the command palette (Ctrl+Shift+P or Cmd+Shift+P) and search for “Google Fonts” to insert font links or CSS imports.
Prettier – Code formatter
To automatically format your code for consistency. Install it and enable “Format on Save” in your VS Code settings.
To enable Format on Save:
- Open VS Code settings (File > Preferences > Settings or Code > Preferences > Settings).
- Search for “Format On Save” and check the box.
- Alternatively, edit your
settings.jsonfile and add:"editor.formatOnSave": true
VS Code Icons
For customized folder and file icons, making your project structure easier to navigate. After installing, set it as your file icon theme in VS Code settings.
Auto Rename Tag
This handy extension automatically renames the matching closing tag when you rename an opening tag, and vice versa. For example, changing a
<p>to a<span>will automatically update the closing tag.
3. Project File Structure
For each project, you will typically start with three files:
index.html: For the structure of your web page.style.css: For styling and layout.script.js: For interactivity and dynamic content.
Some projects might not require JavaScript, in which case the script.js file may be omitted.
Project 1: Quiz Game
Let’s start by building a quiz game. This project will involve HTML for structure, CSS for styling, and JavaScript for functionality.
Step 1: Set up HTML Structure
Create an index.html file. You can use VS Code’s shortcut by typing ! and pressing Tab to generate the basic HTML boilerplate.
- Set the title of the page to “Quiz Game”.
- Link your CSS file:
<link rel="stylesheet" href="style.css"> Create a main container div:
<div class="container"></div>Inside the container, create two main screens: a start screen and a quiz screen. We will use the
activeclass to show which screen is currently visible.- Start Screen:
 <div id="start-screen" class="screen active">
 <h1>Quiz Time!</h1>
 <p>Test your knowledge with our fun quiz.</p>
 <button id="start-btn">Start Quiz</button>
 </div>
- Quiz Screen: This screen will contain the questions, options, score, and progress bar. It will initially be hidden (not have the
activeclass).
 <div id="quiz-screen" class="screen">
 <div class="quiz-header">
 <h2 id="question-text">Question goes here</h2>
 <div class="quiz-info">
 <p>Question: <span id="current-question">1</span> of <span id="total-questions">5</span></p>
 <p>Score: <span id="score">0</span></p>
 </div>
 </div>
 <div id="answers-container" class="answers-container">
 <!-- Answer buttons will be inserted here by JavaScript -->
 </div>
 <div class="progress-bar">
 <div id="progress" class="progress"></div>
 </div>
 </div>
- Result Screen: This screen will display the final score and options to restart. It will also be hidden initially.
 <div id="result-screen" class="screen">
 <h2>Quiz Results</h2>
 <div class="result-info">
 <p>You scored <span id="final-score">0</span> out of <span id="maximum-score">5</span></p>
 </div>
 <div id="result-message">Good job!</div>
 <button id="restart-btn">Restart Quiz</button>
 </div>
- Start Screen:
Step 2: Style the Quiz with CSS
Open your style.css file and add the following styles.
Basic Reset and Box Sizing
This ensures consistent styling across browsers.
box-sizing: border-box;is very important. It makes the browser calculate an element’s total width and height including padding and border, preventing unexpected size changes.
 * {
 margin: 0;
 padding: 0;
 box-sizing: border-box;
 }
Body Styling
Set a background color, use flexbox to center content, and set a default font.
 body {
 background-color: #F5EF61; /* A custom yellow */
 display: flex;
 justify-content: center;
 align-items: center;
 min-height: 100vh;
 padding: 1rem;
 font-family: sans-serif;
 }
Container Styling
Style the main container that holds the screens.
 .container {
 background-color: white;
 border-radius: 1rem;
 box-shadow: 0 10px 30px rgba(0, 0, 0, 0.1);
 width: 100%;
 max-width: 600px;
 overflow: hidden;
 position: relative;
 padding: 2rem; /* Added padding for spacing inside container */
 }
Screen Styling
Control the visibility of screens. Only the screen with the
.activeclass will be displayed.
 .screen {
 display: none;
 text-align: center;
 }
 .screen.active {
 display: block;
 }
Start Screen Styles
Style the elements on the start screen.
 #start-screen h1 {
 color: #E86A33; /* Orange color */
 margin-bottom: 1.25rem;
 font-size: 2.5rem;
 }
 #start-screen p {
 margin-bottom: 1.5rem;
 font-size: 1.1rem;
 }
 #start-btn {
 padding: 0.75rem 1.5rem;
 font-size: 1rem;
 cursor: pointer;
 background-color: #4CAF50;
 color: white;
 border: none;
 border-radius: 5px;
 transition: background-color 0.3s ease;
 }
 #start-btn:hover {
 background-color: #45a049;
 }
Quiz Screen Styles
Style the quiz header, question text, info, and answer container.
 .quiz-header {
 margin-bottom: 2rem;
 }
 #question-text {
 color: #333;
 font-size: 1.5rem;
 margin-bottom: 1rem;
 line-height: 1.4;
 }
 .quiz-info {
 display: flex;
 justify-content: space-between;
 color: #666;
 font-size: 1rem;
 margin-bottom: 1.25rem;
 }
 .answers-container {
 display: flex;
 flex-direction: column;
 gap: 0.625rem;
 margin-bottom: 1.5625rem;
 }
Answer Button Styles
Style the individual answer buttons.
 .answer-btn {
 background-color: #F8F0E5; /* Light beige */
 color: #333;
 border: 2px solid #EADBC8; /* Light brown border */
 border-radius: 10px;
 padding: 0.75rem 1rem;
 font-size: 1rem;
 cursor: pointer;
 text-align: left;
 transition: all 0.3s ease;
 }
 .answer-btn:hover {
 background-color: #EADBC880; /* Slightly darker beige on hover */
 border-color: #DAC0AE;
 }
 /* Styles for correct and incorrect answers */
 .answer-btn.correct {
 background-color: #E6FF00; /* Yellowish */
 border-color: #A3F0C4; /* Light green */
 color: #28A745; /* Dark green */
 }
 .answer-btn.incorrect {
 background-color: #FFCCCC; /* Light red */
 border-color: #FF9999; /* Red */
 color: #DC3545; /* Dark red */
 }
Progress Bar Styles
Style the progress bar.
 .progress-bar {
 height: 10px;
 background-color: #eee;
 border-radius: 5px;
 overflow: hidden;
 margin-top: 1rem;
 }
 .progress {
 height: 100%;
 background-color: #007bff; /* Blue progress */
 width: 0%; /* Initial width */
 transition: width 0.3s ease;
 }
Result Screen Styles
Style the result screen elements.
 .result-info p {
 font-size: 1.2rem;
 margin-bottom: 1rem;
 }
 #result-message {
 font-size: 1.5rem;
 font-weight: bold;
 margin-bottom: 1.5rem;
 color: #007bff;
 }
 #restart-btn {
 padding: 0.75rem 1.5rem;
 font-size: 1rem;
 cursor: pointer;
 background-color: #6c757d;
 color: white;
 border: none;
 border-radius: 5px;
 transition: background-color 0.3s ease;
 }
 #restart-btn:hover {
 background-color: #5a6268;
 }
Step 3: Add JavaScript Functionality
Create a script.js file. This is where you’ll add the logic for the quiz.
Define Quiz Data
Start by creating an array of question objects. Each object should have the question text, an array of possible answers, and the correct answer.
 const questions = [
 {
 question: "What is the capital of France?",
 answers: [
 { text: "Berlin", correct: false },
 { text: "Madrid", correct: false },
 { text: "Paris", correct: true },
 { text: "Rome", correct: false }
 ]
 },
 {
 question: "Which planet is known as the Red Planet?",
 answers: [
 { text: "Earth", correct: false },
 { text: "Mars", correct: true },
 { text: "Jupiter", correct: false },
 { text: "Venus", correct: false }
 ]
 }
 // Add more questions here...
 ];
Get DOM Elements
Get references to all the HTML elements you’ll need to interact with.
 const startScreen = document.getElementById("start-screen");
 const quizScreen = document.getElementById("quiz-screen");
 const resultScreen = document.getElementById("result-screen");
 const startBtn = document.getElementById("start-btn");
 const restartBtn = document.getElementById("restart-btn");
 const questionText = document.getElementById("question-text");
 const answersContainer = document.getElementById("answers-container");
 const currentQuestionEl = document.getElementById("current-question");
 const totalQuestionsEl = document.getElementById("total-questions");
 const scoreEl = document.getElementById("score");
 const finalScoreEl = document.getElementById("final-score");
 const maximumScoreEl = document.getElementById("maximum-score");
 const resultMessageEl = document.getElementById("result-message");
 const progressEl = document.getElementById("progress");
Initialize Variables
Set up variables to keep track of the current question, score, and other states.
 let currentQuestionIndex = 0;
 let score = 0;
Start Quiz Function
This function will handle showing the quiz screen and hiding the start screen.
 function startQuiz() {
 startScreen.classList.add("active"); // Initially showing start screen
 quizScreen.classList.remove("active");
 resultScreen.classList.remove("active");
 currentQuestionIndex = 0;
 score = 0;
 showQuestion();
 }
Correction: The above function should actually show the quiz screen and hide the start screen when the quiz begins. Let’s adjust it:
 function startQuiz() {
 startScreen.classList.remove("active");
 quizScreen.classList.add("active");
 resultScreen.classList.remove("active");
 currentQuestionIndex = 0;
 score = 0;
 totalQuestionsEl.textContent = questions.length;
 showQuestion();
 }
 startBtn.addEventListener("click", startQuiz);
Show Question Function
This function displays the current question and its answers.
 function showQuestion() {
 if (currentQuestionIndex {
 const button = document.createElement("button");
 button.textContent = answer.text;
 button.classList.add("answer-btn");
 if (answer.correct) {
 button.dataset.correct = "true"; // Add data attribute for correct answer
 }
 button.addEventListener("click", selectAnswer);
 answersContainer.appendChild(button);
 });
 currentQuestionEl.textContent = currentQuestionIndex + 1;
 updateProgressBar();
 } else {
 showResultScreen(); // Show result screen if no more questions
 }
 }
Select Answer Function
Handles what happens when an answer button is clicked.
 function selectAnswer(e) {
 const selectedBtn = e.target;
 const isCorrect = selectedBtn.dataset.correct === "true";
if (isCorrect) {
score++;
selectedBtn.classList.add("correct");
} else {
selectedBtn.classList.add("incorrect");
}// Disable all answer buttons after selection
Array.from(answersContainer.children).forEach(button => {
button.disabled = true;
if (button.dataset.correct === "true") {
button.classList.add("correct"); // Highlight correct answer
}
});scoreEl.textContent = score;
setTimeout(() => {
currentQuestionIndex++;
showQuestion();
}, 1500); // Delay to show feedback
}
Update Progress Bar
Visually updates the progress bar based on the current question.
 function updateProgressBar() {
 const progressWidth = ((currentQuestionIndex + 1) / questions.length) * 100;
 progressEl.style.width = `${progressWidth}%`;
 }
Show Result Screen Function
Displays the final results and allows restarting.
 function showResultScreen() {
 quizScreen.classList.remove("active");
 resultScreen.classList.add("active");
 finalScoreEl.textContent = score;
 maximumScoreEl.textContent = questions.length;
let message = "";
const percentage = (score / questions.length) * 100;if (percentage === 100) {
message = "Perfect! You're a genius!";
} else if (percentage >= 75) {
message = "Great job!";
} else if (percentage >= 50) {
message = "Not bad, keep practicing!";
} else {
message = "Keep studying, you'll get better!";
}
resultMessageEl.textContent = message;
}
Restart Quiz Function
Resets the quiz and shows the start screen.
 function restartQuiz() {
 // Resetting everything and showing the start screen
 currentQuestionIndex = 0;
 score = 0;
 startScreen.classList.add("active");
 quizScreen.classList.remove("active");
 resultScreen.classList.remove("active");
 // Re-initialize the quiz by calling startQuiz or similar logic
 // For simplicity, we can just reload the page or re-run the start screen logic
 // A better approach would be to reset state variables and call showQuestion()
 // Let's reset and show the start screen first
 startBtn.textContent = "Restart Quiz"; // Change button text on start screen
 startBtn.onclick = startQuiz; // Ensure start button triggers quiz start
 startScreen.querySelector('p').textContent = 'Press Restart to play again.'; // Update message
// To truly restart, we need to re-initialize the quiz flow:
// Option 1: Reload the page (simplest for this example)
// window.location.reload();// Option 2: Manually reset and show start screen again
// The current setup already handles showing start screen. We just need to ensure
// the start button correctly triggers the quiz start again.
// Let's ensure the start button behavior is reset if needed.
// For now, we will just make the restart button click the start button.
// This is a shortcut; a full reset might be needed for complex states.
}
restartBtn.addEventListener("click", () => {
// A simple way to restart is to reset the state and show the start screen
// Then the user clicks 'Start Quiz' again.
// For a direct restart, we can simulate a click on the start button if it's visible
// Or better, reset all variables and call showQuestion() for the first question
// Let's reset and show the start screen again.
currentQuestionIndex = 0;
score = 0;
startScreen.classList.add("active");
quizScreen.classList.remove("active");
resultScreen.classList.remove("active");
// Ensure the start button functions correctly after restart
startBtn.textContent = "Start Quiz";
startBtn.onclick = startQuiz;
});
Note: The restart logic can be simplified. A common approach is to reset all state variables (score, index) and then make the start screen active again. The user then clicks the “Start Quiz” button to begin anew.
Initial Call
Make sure to call the function to display the start screen when the page loads.
 // Initial setup
 totalQuestionsEl.textContent = questions.length;
 startScreen.classList.add("active"); // Ensure start screen is active on load
 quizScreen.classList.remove("active");
 resultScreen.classList.remove("active");
 startBtn.addEventListener("click", startQuiz);
 restartBtn.addEventListener("click", restartQuiz);
Conclusion
You’ve now built a functional quiz game using HTML, CSS, and JavaScript! This is just one of many projects you’ll create to build your web development skills.
Source: 19 Web Dev Projects – HTML, CSS, JavaScript Tutorial (YouTube)