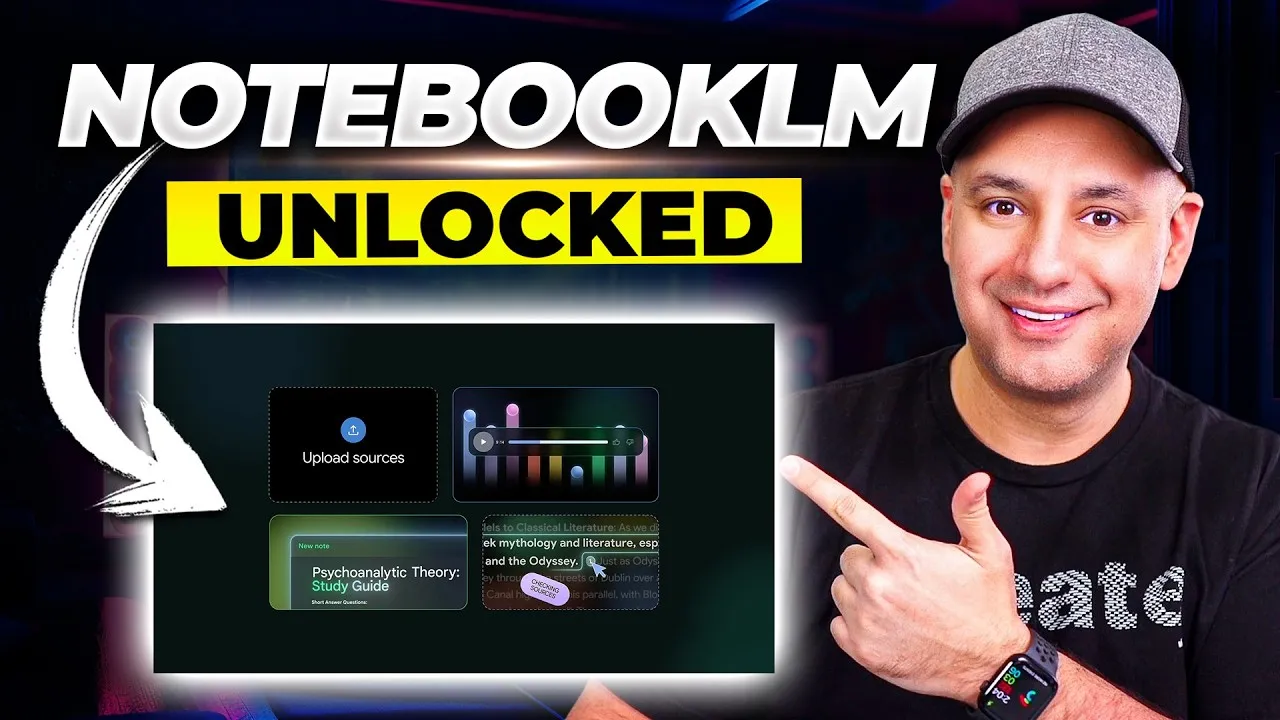
Master NotebookLM with These 10 Powerful Tips
NotebookLM is a fantastic AI tool that can help you understand and work with large amounts of information. However, many users only scratch the surface of its potential. This guide will show you 10 advanced tips and tricks to get the most out of NotebookLM, based on years of experience using the platform. You’ll learn how to integrate it with Gemini, find sources more effectively, create visual summaries, and even generate video content from your research.
What You’ll Learn
- How to use NotebookLM directly within Google Gemini.
- Strategies for letting NotebookLM find research sources for you.
- Ways to interact with single sources for targeted answers.
- Creating visual summaries like infographics and mind maps.
- Using notes as sources and saving key information.
- Generating audio and video overviews of your notebooks.
- Customizing your notebook experience and sharing it with others.
Prerequisites
- A Google account.
- Access to NotebookLM (notebooklm.google.com) or Google Gemini (gemini.google.com).
- (Optional) A paid NotebookLM subscription for advanced features like unlimited sources and cinematic video overviews.
1. Access NotebookLM within Google Gemini
NotebookLM now offers a seamless integration with Google Gemini. You can create and manage notebooks directly within the Gemini interface, saving you time and clicks. Previously, you had to switch between NotebookLM and Gemini.
- Go to gemini.google.com.
- On the left-hand side, you’ll see a new section labeled Notebooks.
- Click Notebooks to create a new notebook or manage existing ones.
- When starting a new chat in Gemini, you can now add notebooks directly. Click the plus sign (+) in the chat prompt area, then select Notebooks to choose from your existing notebooks or add new ones.
- This new feature lets you create notebooks, name them, and add sources (like websites or uploaded files) all within Gemini’s project-like environment.
Expert Tip: This integration streamlines your workflow, allowing you to research and chat with your sources without leaving the Gemini platform.
2. Let NotebookLM Find Your Sources
You don’t always have to start by uploading your own files. NotebookLM can help you discover relevant sources through its research features.
- Go to the official NotebookLM website (notebooklm.google.com).
- Click to create a new notebook.
- Look for the option to fast research or deep research. For fast research, select web as your source type.
- Enter your research topic, for example, “AI agents and automations for marketing.”
- NotebookLM will then find and suggest several sources (often around 10).
- Review the suggested sources. You can open them to check their usefulness.
- Deselect any sources you don’t need, then import the rest.
- For more in-depth research, you can then initiate a deep research task on the same topic to find even more sources.
Note: The Pro version offers up to 300 sources per notebook, while the free version allows up to 50.
3. Interact with Single Sources
When dealing with many sources, asking general questions can lead to lengthy or unfocused answers. Focusing on one source at a time provides more specific results.
- In your notebook, click on a specific source to highlight it.
- Then, ask your question or give a command, such as “Summarize this.”
- NotebookLM will then provide an answer based *only* on the selected source, not your entire notebook.
- You can save the answer as a note by clicking the save as note button.
Benefit: This method is excellent for quickly extracting precise information from a particular document or webpage without wading through unrelated content.
4. Create Visual Summaries with Studio
NotebookLM’s Studio feature allows you to transform your research into visual formats like infographics and mind maps.
- Navigate to the Studio section within your notebook.
- Choose a visual type, such as infographic or mind map.
- For infographics, select whether to base it on a single source or your entire notebook.
- Choose a style (e.g., professional, editorial, instructional), orientation, and detail level (standard or concise).
- You can even provide a text description for what you want the infographic to highlight.
- Click to generate. The resulting infographic can be downloaded as an image file (PNG) and shared.
- For mind maps, select the sources you want to include and click the mind map option. This provides a visual overview of how your sources connect, allowing you to explore topics more easily.
Tip: These visuals are great for understanding complex relationships between ideas or for presenting information to others in an engaging way.
5. Save Answers as Notes and Use Them as Sources
Good answers you receive during a chat can be saved and even turned into new sources.
- When you get a particularly useful answer from NotebookLM, click the save as note button.
- This saved note will appear in your notes section.
- You can then convert this note into a source. This is useful if the saved answer contains specific information you want to reference later as if it were an original document.
- To do this, find the note, click the options, and select the option to convert it into a source.
Workflow: This allows you to build custom knowledge bases from your conversations, refining your research over time.
6. Utilize the Notes Feature for Custom Content
The notes feature is a flexible space for drafting, collecting ideas, or organizing information.
- Click add note within your notebook.
- This opens a blank text document where you can type your own notes or paste information from elsewhere.
- You can format text, add links, and build up your notes over time.
- These notes can remain as standalone documents or be converted into sources later, just like saved answers.
Use Case: This is perfect for outlining a project, jotting down key takeaways, or compiling specific points from various sources into one organized place.
7. Generate Audio and Video Overviews
NotebookLM can create audio and video summaries of your research, making it easier to consume information on the go or share it.
- Find the Audio Overview or Video Overview feature.
- For Audio Overview, you can choose different formats like deep dive, brief, or debate. You can also specify a topic for the AI hosts to focus on.
- For Video Overview, new modes like cinematic are available (often in paid plans). You can describe how you want the video customized.
- Generate the overview based on a single source or your entire notebook.
- The system creates an AI-generated podcast or video.
Interactive Mode: With Audio Overview, you can enter interactive mode after generation. This allows you to pause the AI podcast and ask follow-up questions, turning it into an AI tutor experience.
Multiple Versions: You can generate multiple audio overviews for different audiences or even in different languages by adjusting the prompts. Similarly, video overviews can be tailored.
8. Customize Your Notebook Settings
Personalize your NotebookLM experience with custom summaries and covers.
- Look for the customize option within your notebook settings.
- You can upload a custom cover image for your notebook.
- You can also set a custom notebook summary. Instead of using the auto-generated summary, you can write your own or paste one from another source.
Sharing Benefit: Customizing the summary and cover makes your shared notebooks more professional and informative for collaborators.
9. Share Your Notebooks
Collaborate with others by sharing your notebooks directly.
- Click the share button, usually located at the top of the notebook interface.
- Enter the email addresses of the people you want to share with.
- You can choose their access level: view with a link, public access, or restricted access (only for invited users).
Note: Ensure you set the correct permissions to control who can view or edit your shared content.
10. Customize Chat Behavior (Paid Feature)
Paid subscribers can further tailor how NotebookLM interacts with them.
- Find the chat customization options.
- Here, you can define the conversational style and goals of the AI.
- You can choose pre-set styles or create a custom system prompt to guide the AI’s responses, such as requesting shorter answers or a specific tone.
Advanced Use: This feature allows you to fine-tune the AI’s output for very specific use cases, making it an even more powerful research assistant.
Source: Top 10 NotebookLM Tips and Tricks in 2026 (YouTube)