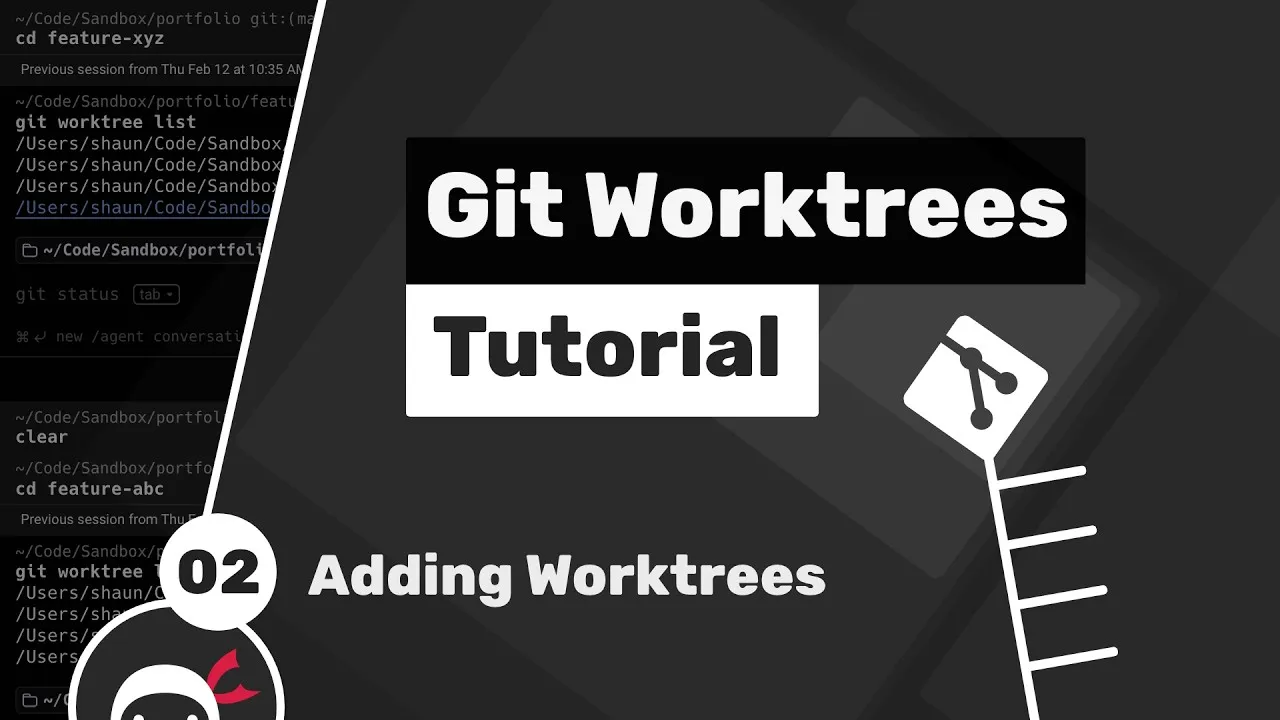
How to Add and Manage Git Worktrees for Efficient Branching
In this tutorial, you’ll learn how to effectively use Git worktrees to manage multiple branches and ongoing development without the need to constantly commit or stash your work. We’ll cover adding new worktrees, switching between them, and removing them once they are no longer needed, all while keeping your main project directory clean and your current work intact.
Prerequisites
- Git installed on your system.
- A local Git repository with at least one existing branch and some uncommitted changes.
- Basic understanding of Git commands like
clone,branch,status,cd, andls.
What You’ll Learn
- How to create a new Git worktree for a different branch.
- How to navigate and work within different worktrees.
- How to verify the creation and status of your worktrees.
- How to specify a starting point for a new worktree’s branch.
- How to remove a Git worktree.
Step-by-Step Guide
1. Add a New Git Worktree and Branch
When you need to work on a different feature or fix a bug without disrupting your current work, Git worktrees are invaluable. They allow you to have multiple working directories, each associated with the same repository but checked out to different branches.
To add a new worktree, open your terminal in your existing repository directory and run the following command:
git worktree add -b
-b: This flag tells Git to create and check out a new branch with the specified name in the new worktree.: This is the relative path to the new directory that will serve as your worktree. It’s recommended to place this directory alongside your original project directory, not inside it. For example, if your project is in~/projects/my-repo, you might create a new worktree in../my-repo-feature-b.
Example:
git worktree add -b feature-b ../feature-b
After running this command, Git will create the new directory (../feature-b in this example), create the new branch (feature-b), and check it out within that new directory. Your original worktree remains untouched.
2. Verify Worktree Creation
Before switching to your new worktree, it’s a good practice to verify that Git has registered it correctly.
Run the following command in your original repository directory:
git worktree list
This command will display a list of all worktrees associated with your repository, showing the path to each working directory and the branch that is currently checked out in it.
3. Understand the Starting Point of New Branches
By default, when you create a new worktree with a new branch using the -b flag, Git bases the new branch on the HEAD of your current branch. This means if you are on a branch with committed changes, the new worktree will start from that latest commit.
Expert Tip: If you need the new branch to start from a different point (e.g., the main branch), you can specify it at the end of the git worktree add command. For example:
git worktree add -b feature-c ../feature-c main
This command creates a new worktree at ../feature-c, checks out a new branch named feature-c, and bases it on the latest commit of the main branch, regardless of your current branch or its state.
4. Navigate to the New Worktree
Git does not automatically change your current directory to the new worktree. You need to navigate to it manually.
First, ensure you are in your original project directory. Then, use the cd command to enter the new worktree’s directory:
cd ../feature-b
Once inside the new directory, you can run git status. You’ll see that you are on the new branch (e.g., feature-b) and the working tree is clean, ready for you to start making new changes.
5. Work on the New Branch
You can now work on your new branch as you normally would. Make changes to files, stage them, and commit them.
Example:
- Edit a file, for instance, the
README.md. - Save the changes.
- Run
git statusto see the modified file. - Stage and commit your changes:
git add README.md
git commit -m "Initial changes for feature-b"
You can then push this branch to your remote repository as usual.
6. Return to Your Original Worktree
To switch back to your original worktree and branch, simply navigate back out of the current worktree directory and then into your main project directory.
From within the ../feature-b directory:
cd ../my-repo
Or, if you were one level deeper:
cd ../../my-repo
Alternatively, you can use relative paths to go up one level and then into your main project directory:
cd ../..
Then navigate into your main project folder:
cd my-repo
If you run git status in your original worktree, you’ll see your previous uncommitted changes are still there, and the changes made in the feature-b worktree are not present.
7. Remove a Git Worktree
Once you have finished with a feature or bug fix in a separate worktree, and its changes have been merged or are no longer needed, you can remove the worktree.
Navigate back to your main project directory (the original worktree) in your terminal. Then, use the following command:
git worktree remove
Example:
git worktree remove ../feature-b
Warning: Git will prevent you from removing a worktree if it contains uncommitted changes. This is a safety measure to prevent accidental data loss.
If you are certain you want to remove the worktree and discard any uncommitted changes within it (e.g., it was an experimental branch that didn’t pan out), you can use the --force flag:
git worktree remove ../feature-b --force
After successfully removing the worktree, you can verify its removal by running git worktree list again.
8. Clean Up the Branch (Optional)
Removing a worktree does not automatically delete the associated Git branch. If you no longer need the branch, you can delete it manually.
In your main repository directory, run:
git branch -d
Example:
git branch -d feature-b
If the branch has not been fully merged and you want to force its deletion, use -D instead of -d.
Conclusion
Git worktrees provide a powerful way to manage parallel development tasks without the friction of stashing or committing unfinished work. By mastering the commands for adding, navigating, and removing worktrees, you can significantly enhance your Git workflow efficiency.
Source: Git Worktrees Tutorial #2 – Adding Git Worktrees (YouTube)