Master Spring Boot: Your Guide to Building a Secure E-commerce Backend
Welcome back to our Spring Boot series! In this comprehensive guide, we’ll dive deep into building the backend for a real-world e-commerce application. This tutorial is designed to equip you with the skills to create secure, production-ready APIs, implement robust features like authentication and role-based access control, and manage essential e-commerce functionalities such as shopping carts, checkout systems, and payment processing. You’ll also learn best practices for code organization and structuring, enabling you to write code like a professional developer. Get ready to elevate your backend development skills and confidence!
What You Will Learn
By the end of this tutorial, you will be able to:
- Develop secure APIs using Spring Boot.
- Implement user authentication and authorization mechanisms.
- Integrate role-based access control (RBAC) for different user types.
- Build a functional shopping cart and checkout system.
- Integrate a third-party payment gateway like Stripe.
- Structure and organize your Spring Boot project professionally.
- Understand the core concepts for deploying your application to the cloud.
Prerequisites
Before you begin, ensure you have the following:
- A foundational understanding of Java programming.
- Familiarity with basic web development concepts (HTTP, REST).
- Previous experience with Spring Boot, ideally from Part 1 of this series.
- A development environment set up with Java Development Kit (JDK) and an IDE (like IntelliJ IDEA, Eclipse, or VS Code).
- Basic knowledge of Maven or Gradle for dependency management.
Step-by-Step Guide to Building Your E-commerce Backend
Step 1: Project Setup and Dependencies
Begin by setting up your Spring Boot project. You can use the Spring Initializr (start.spring.io) to generate a new project. Ensure you include necessary dependencies such as:
- Spring Web: For building RESTful web services.
- Spring Data JPA: For database interaction.
- Spring Security: For authentication and authorization.
- Lombok: To reduce boilerplate code.
- A database driver (e.g., H2 for development, PostgreSQL or MySQL for production).
- Stripe SDK: For payment processing.
Add these dependencies to your pom.xml (Maven) or build.gradle (Gradle) file.
Step 2: Entity Design and Database Configuration
Define your core entities such as User, Product, Order, OrderItem, and Cart. Use JPA annotations (@Entity, @Id, @Column, @ManyToOne, @OneToMany, etc.) to map these classes to your database tables.
Configure your database connection in application.properties or application.yml. This includes the database URL, username, and password.
Expert Note: For production, always use a robust database like PostgreSQL or MySQL. For development and testing, H2 or an in-memory database can be convenient.
Step 3: Implementing Authentication and Authorization
Leverage Spring Security to secure your application. Configure your security settings to handle user registration, login, and password management. This typically involves:
- Creating a
UserDetailsServiceimplementation to load user data from your database. - Defining password encoding using
BCryptPasswordEncoder. - Configuring
SecurityFilterChainto define which URLs are secured and how.
Implement role-based access control (RBAC) by assigning roles (e.g., ADMIN, CUSTOMER) to users and restricting access to certain endpoints based on these roles.
Warning: Never store passwords in plain text. Always use a strong hashing algorithm like BCrypt.
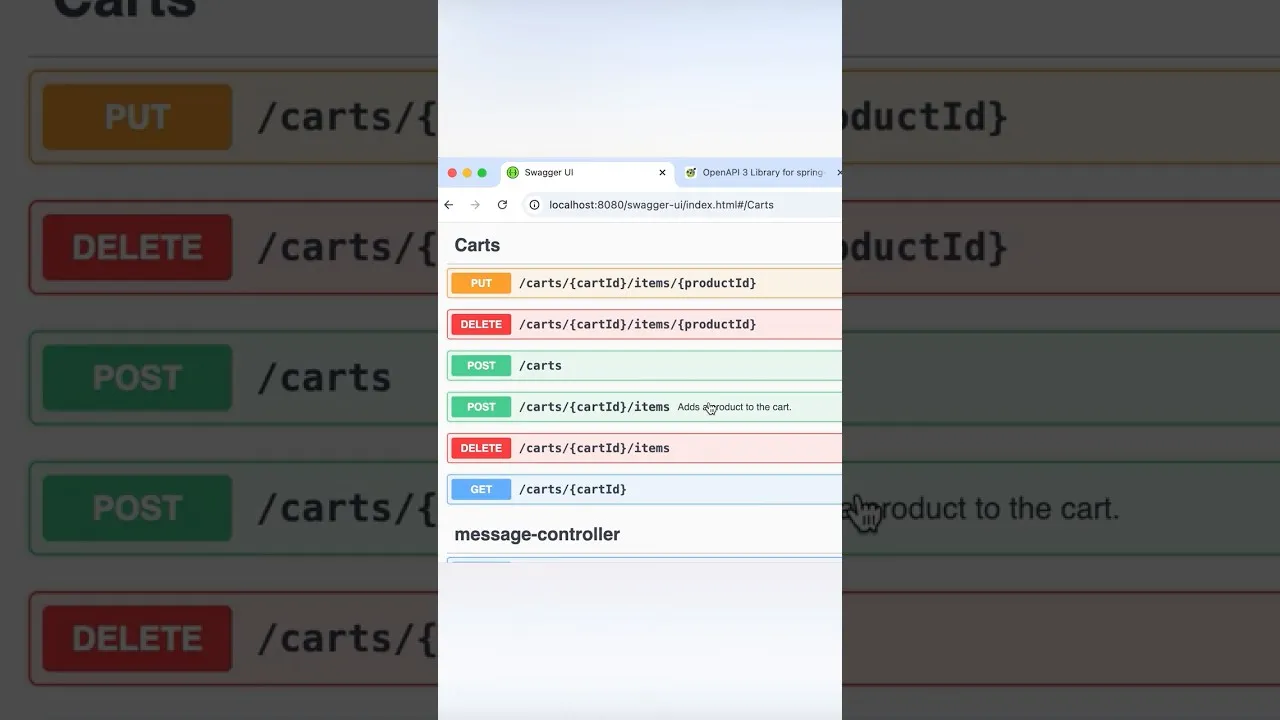
Step 4: Building the Shopping Cart and Checkout System
Create services and controllers to manage the shopping cart functionality. Users should be able to add items to their cart, update quantities, and remove items. The cart can be managed in the user’s session or stored in the database associated with the user.
Develop the checkout process, which involves:
- Validating the cart contents.
- Calculating the total price, including taxes and shipping.
- Creating an
Orderentity to store the purchase details.
Step 5: Integrating Stripe for Payment Processing
Integrate Stripe as your payment gateway. You’ll need to:
- Add the Stripe Java library as a dependency.
- Configure your Stripe API keys (secret key and publishable key) in your application properties.
- Create API endpoints to handle payment intents and confirm payments.
- On the frontend, use Stripe.js to securely collect payment details and tokenize them.
- On the backend, use the Stripe SDK to create charges or payment intents and process the transaction.
Tip: Stripe provides excellent documentation and SDKs for various languages, making integration relatively straightforward.
Step 6: Advanced Features and API Design
Implement additional features such as product search, order history, and user profile management. Focus on designing clean, RESTful APIs that are easy to consume.
Use DTOs (Data Transfer Objects) to decouple your API layer from your domain entities, promoting better code organization and security.
Expert Note: Consistent API design is crucial for maintainability and developer experience. Follow REST principles and use standard HTTP status codes.
Step 7: Code Organization and Best Practices
Structure your project logically. A common approach is to organize by feature or layer:
com.example.ecommerce.controller: For REST controllers.com.example.ecommerce.service: For business logic.com.example.ecommerce.repository: For data access.com.example.ecommerce.domainorcom.example.ecommerce.entity: For model classes.com.example.ecommerce.config: For configuration classes.com.example.ecommerce.security: For security-related components.
Write unit and integration tests to ensure your code functions correctly and to prevent regressions.
Step 8: Deployment to the Cloud
Prepare your application for deployment. This involves:
- Building a production-ready JAR file using Maven or Gradle.
- Choosing a cloud platform (e.g., AWS, Heroku, Google Cloud, Azure).
- Configuring your application for the cloud environment (e.g., setting environment variables for database credentials and API keys).
- Deploying your application using the platform’s specific tools or methods.
Tip: Consider using containerization technologies like Docker for consistent deployment across different environments.
Conclusion
Building a complete e-commerce backend with Spring Boot is a rewarding process. By following these steps, you’ve learned to implement critical features, secure your application, and structure your code professionally. Continue practicing and exploring advanced Spring Boot concepts to further enhance your skills as a backend developer.
Source: Part 2 of my Spring Boot course dropping soon! (YouTube)