Master Responsive Design with Container Queries
Tired of wrestling with media queries and their tricky “magic numbers”? This guide shows you how to create flexible, responsive web layouts using container queries. You’ll learn to make your components adapt to their surroundings, not just the browser window. Forget fragile designs that break with the slightest change; container queries offer a more robust and maintainable way to build UIs.
What You’ll Learn
This tutorial will guide you through using CSS container queries to build layouts that automatically adjust based on the size of their containing element. We’ll cover how to set up container units, define responsive behaviors, and create adaptable components without relying on traditional media queries.
Prerequisites
- Basic understanding of HTML and CSS.
- Familiarity with CSS Grid or Flexbox concepts is helpful but not strictly required.
Step-by-Step Guide to Container Queries
Step 1: Understand the Problem with Media Queries
Traditionally, we use media queries to change a website’s layout based on the browser window’s width. While effective, this method can lead to what’s called “magic number disaster.” You end up with specific pixel values in your CSS that dictate layout changes. If you change anything by even one pixel, the entire design can collapse. This makes layouts brittle and hard to maintain over time.
Step 2: Introduce Container Queries
Container queries offer a different approach. Instead of asking, “How big is the browser window?”, they ask, “How big is my container?” This means a component can determine its own layout based on the space it actually occupies. It’s like a component looking at its own reflection to decide how to best fit.
Step 3: Define a Container
First, you need to tell the browser which element will act as a container for your responsive styles. You do this using the `@container` rule. You can optionally give your container a name for more specific control. Let’s say you have a `div` with the class `my-card`. You can define it as a container like this:
.my-card {
  container-type: inline-size;
  container-name: card-container;
}
container-type: inline-size; tells the browser to track the container’s width. container-name: card-container; gives it a unique name, useful if you have multiple containers.
Step 4: Use Container Units (like `cqw` and `cqh`)
Once you have a container, you can use special units that are relative to its size. For example, `cqw` means “container query width” (1cqw is 1% of the container’s width), and `cqh` means “container query height” (1cqh is 1% of the container’s height). You can also use `cqmin` and `cqmax`.
Step 5: Apply Styles Based on Container Size
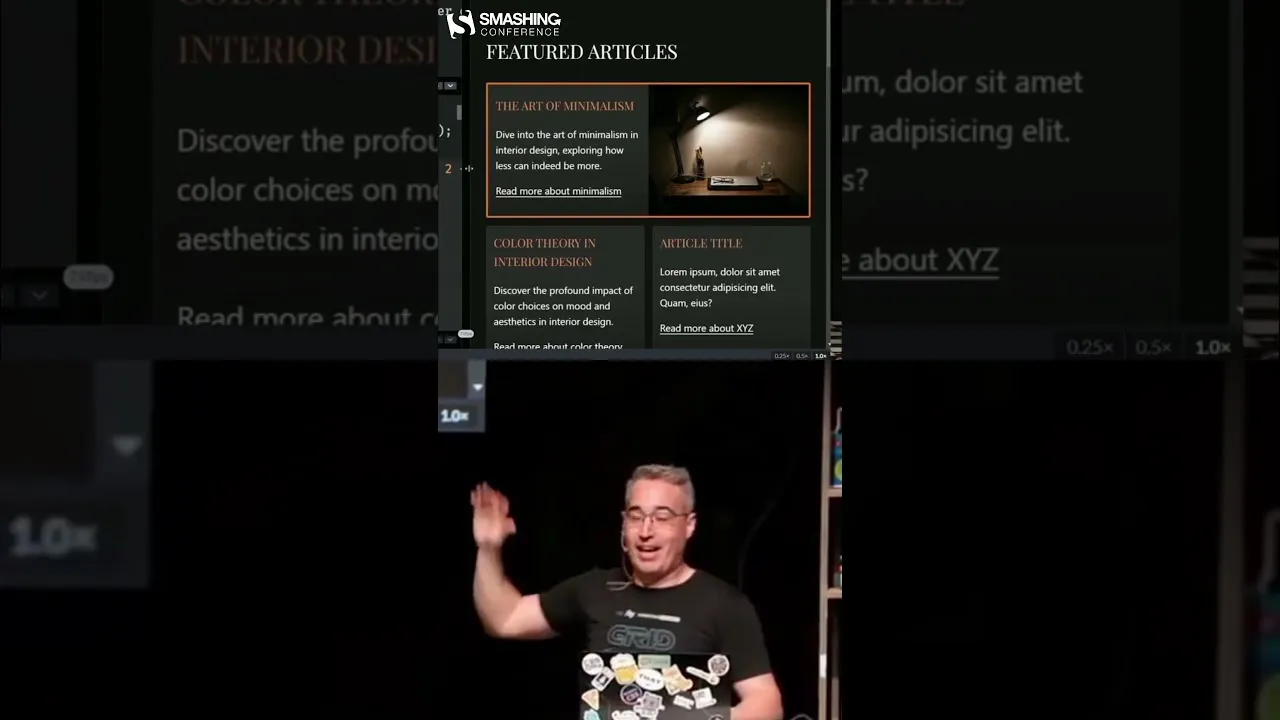
Now, you can write styles that apply only when the container meets certain size conditions. This is where container queries shine. Imagine you want your card to show two columns when its container is wide enough. You can use `minmax` within your grid or flexbox setup, and define the minimum size of a column using a container unit. For instance, setting a minimum column size to `25cqw` means each column needs at least 25% of the container’s width. The browser then figures out how many columns can fit based on this rule.
The transcript mentions using `25ch` which is a character-based unit. While `ch` units are useful, container query units like `cqw` are generally preferred for direct responsiveness to container dimensions. Let’s adapt the concept using container units:
.card-container {
  display: grid;
  grid-template-columns: repeat(auto-fit, minmax(25cqw, 1fr));
  gap: 1rem;
}
Here, `repeat(auto-fit, minmax(25cqw, 1fr))` tells the grid to create as many columns as can fit, with each column being at least 25% of the container’s width. If the container is wide enough to fit two such columns, it will. If it’s only wide enough for one, it will show just one.
Step 6: Adapting Layouts Dynamically
With this setup, if your container is wide enough to hold two columns, each at a minimum of 25% width, the layout will naturally adjust. When the container’s width reaches `50cqw` (25cqw * 2), you can have two columns. If it gets even wider, it might fit three or more. You can even make elements span multiple columns when the container is sufficiently large. This allows your featured cards or any component to change their layout dynamically without needing complex JavaScript or special CSS classes.
Step 7: Comparing with Media Query Approaches
Previously, achieving this would involve setting media queries at specific pixel breakpoints, like `@media (min-width: 768px)`. If you then changed a card’s internal spacing, you might need to adjust those media query breakpoints too. With container queries, the component’s layout adapts based on its own space. This means you can move that card anywhere in your website, and it will automatically adjust its layout correctly. You avoid the “magic numbers” and keep all the component’s styling together in one place.
Step 8: Benefits of Container Queries
Container queries lead to more robust and maintainable code. Components become self-contained and predictable. You can use a component in various contexts, and it will always adapt appropriately. This significantly reduces the need for modifier classes or complex logic to handle different screen sizes. Your components are simply more resilient, working as intended in the situations you’ve designed for.
Example: Naming Containers
You can name your containers for more granular control, especially when you have nested components or multiple types of containers on a page. When you declare your container, you can assign it a name:
.my-specific-container {
  container-type: inline-size;
  container-name: specific-layout;
}

@container specific-layout (min-width: 400px) {
  .my-element {
    /* Styles that apply when the container named 'specific-layout' is at least 400px wide */
    background-color: lightblue;
  }
}
This allows you to apply styles based on the size of a specifically named container, giving you precise control over your responsive design.
Conclusion
By embracing container queries, you move away from fragile, pixel-based media queries towards a more component-centric and adaptive approach to web design. This makes your layouts more predictable, easier to manage, and ultimately, more user-friendly across all devices and screen sizes.
Source: Goodbye magic numbers (YouTube)