How to Create a Landing Page Fast with AI
In today’s digital landscape, a compelling landing page is crucial for capturing leads, promoting services, or gathering email sign-ups. While building one from scratch can seem daunting, AI-powered tools can drastically speed up the process. This guide will walk you through creating an effective landing page quickly and efficiently using Hostinger’s AI feature, Horizons.
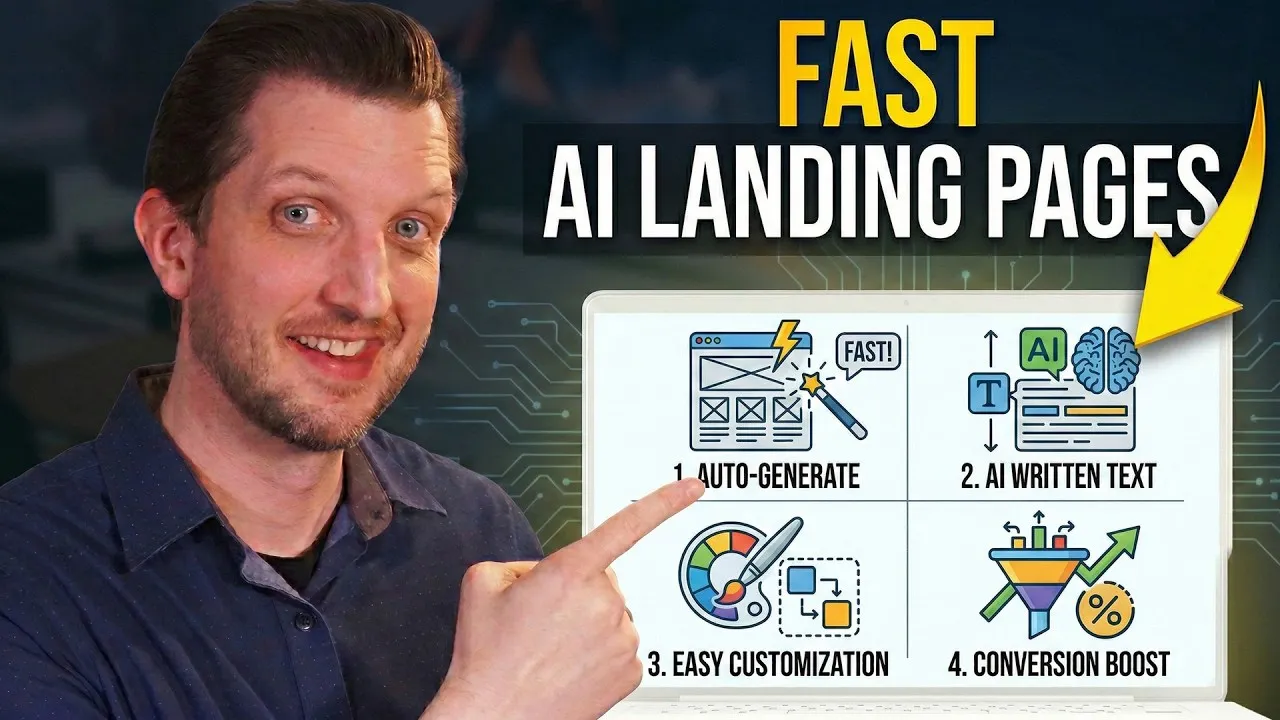
What You’ll Learn
This tutorial will cover the entire process of using Hostinger’s AI to generate a landing page. You will learn how to:
- Sign up for Hostinger and access the AI landing page builder.
- Use natural language prompts to describe your desired landing page.
- Interact with the AI to refine the design, content, and layout.
- Integrate email capture forms with backend services.
- Publish your landing page and access it for further editing.
Prerequisites
- A Hostinger account. (A link is provided in the description to sign up and potentially get a special deal.)
- Basic understanding of your landing page’s purpose (e.g., email capture, promotion).
- Optional: An account with a service like Supabase for email integration, if needed.
Step-by-Step Guide
Step 1: Access Hostinger and the AI Builder
- Log in to your Hostinger account. If you don’t have one, sign up using the provided link.
- Navigate to the menu bar within your Hostinger dashboard.
- Click on the option labeled Horizons. This is Hostinger’s built-in AI feature designed for website creation.
Step 2: Initiate Landing Page Creation with a Prompt
- Once in the Horizons interface, click on Start building.
- In the prompt field, clearly describe the landing page you want to create. Be specific about its purpose and target audience. For example: “Create a landing page to capture emails for my newsletter about coffee, comics, and cartoons.”
- You can also specify any desired styles or mention specific images you’d like the AI to consider.
- Click Send to submit your prompt.
Step 3: Engage in the AI Conversation
- The AI will process your request and may ask clarifying questions, such as the desired vibe (e.g., fun, playful) or preferred color scheme.
- Answer these questions in plain language. The AI builds the page conversationally, much like communicating with a web developer.
- As the AI generates the page, you’ll see code scrolling in the background. This indicates the AI is building the website from the ground up.
- The AI doesn’t just provide a template; it continues to refine the website based on your ongoing input.
Expert Tip: Unlike some AI builders that offer a template and stop, Hostinger’s Horizons feature acts as an ongoing assistant. You can ask it to adjust images, add or move text, and make other changes in real-time.
Step 4: Review and Refine the Generated Landing Page
- Once the AI indicates it’s ready, review the generated landing page.
- Check if the design, content, and layout meet your expectations. For example, the AI might have included sections like “Join the fun” for email capture and relevant images based on your prompt.
- If you need to make changes, use the chat interface to communicate your requests. For instance, you can say: “Move the sign-up section higher up on the page.”
- Send your request, and the AI will recode and adjust the page accordingly.
- Continue this iterative process, asking the AI to change colors, swap images, or modify text until you are satisfied.
Warning: While the AI is powerful, always double-check that the content accurately reflects your brand and message. You retain full control to edit any aspect through the chat.
Step 5: Set Up Backend Integrations (Optional but Recommended)
- The AI may prompt you to set up the backend for certain features, like email capture.
- Follow the on-screen instructions. This often involves going to an Integrations section and connecting services like Supabase.
- If you have an account with the required service, connect it to ensure your collected emails are stored properly. The system will guide you through the connection process.
Step 6: Publish Your Landing Page
- Once you are happy with the landing page, click the Publish button.
- You will be given options for a domain. You can choose to use Hostinger’s predetermined domain or connect your own custom domain (which can be purchased through Hostinger).
- For immediate use, especially if embedding links in ads, you might use the provided link.
- Confirm the publishing settings.
Step 7: Access and Edit Your Website
- After publishing, you can return to your Hostinger dashboard.
- Your newly created website/landing page will be listed there.
- To make further edits, click on the Edit button. This will take you back to the Horizons interface, with your existing chat history and the current state of your website preserved. This ensures you can continue refining the page using the AI at any time.
Conclusion
Creating a landing page has never been easier or faster. Hostinger’s AI feature, Horizons, empowers you to generate a professional-looking and functional landing page with simple, conversational commands. By following these steps, you can have a custom landing page ready for your audience in minutes, allowing you to focus on driving traffic and achieving your goals.
Ready to start? Click the link in the description to sign up for Hostinger and begin creating your landing page today!
Source: How to Create a Landing Page Fast with AI (YouTube)