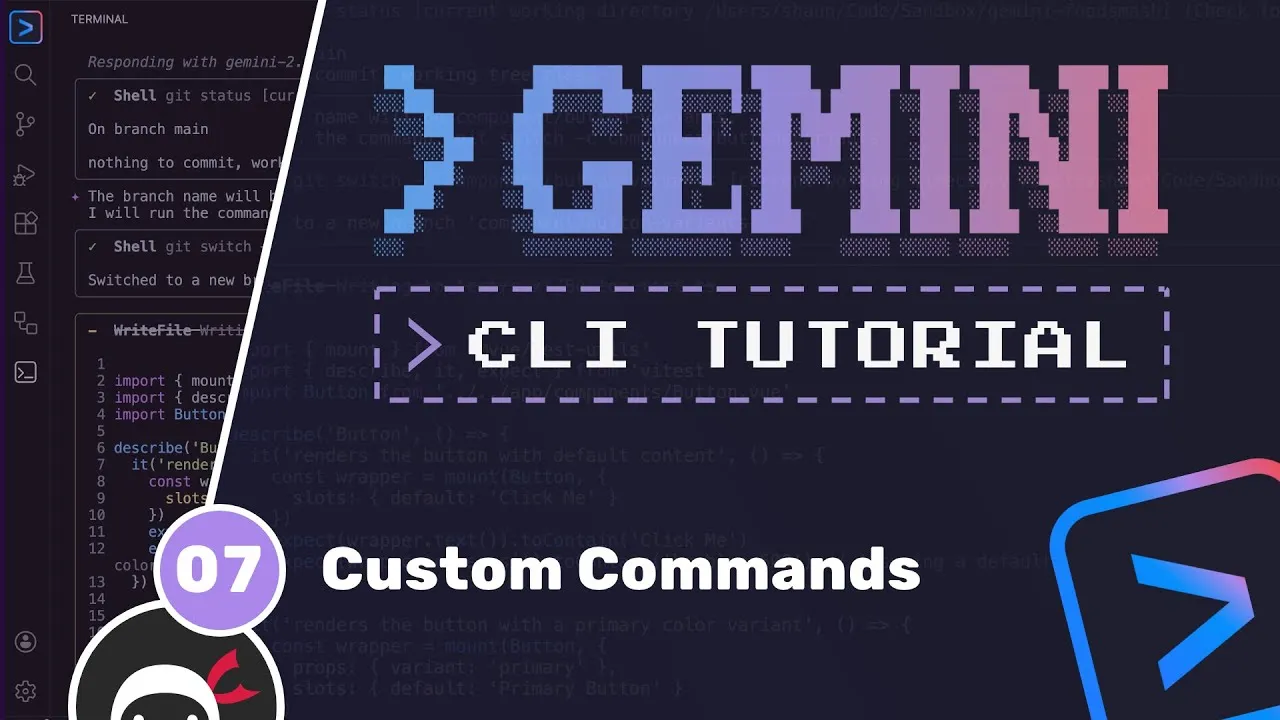
Overview
This tutorial will guide you through the process of creating custom commands within the Gemini CLI. You will learn how to define a command that instructs the Gemini model to generate new UI components, including associated test files and preview examples. This custom command streamlines the development workflow by automating repetitive tasks.
Prerequisites
- Gemini CLI installed and configured.
- Basic understanding of Git and your project’s file structure.
Steps
1. Set Up the Custom Commands Directory
First, ensure you have a .gemini folder in the root directory of your project. If it doesn’t exist, create it.
- Navigate to your project’s root directory.
- Create a new folder named
commandsinside the.geminifolder. If the.geminifolder doesn’t exist, create it first, then create thecommandsfolder inside it.
2. Create the Command Definition File
Next, you need to create a TOML file for your custom command. The filename of this TOML file will be the name of your command in the Gemini CLI.
- Inside the newly created
commandsfolder, create a new file namedcomponent.toml. This means your command will be invoked as/componentin the CLI.
3. Define Command Properties in the TOML File
Open the component.toml file and add the following keys and values:
- Description: Add a
descriptionkey with a string value that briefly explains what the command does. This description will be visible when you use the command in the CLI.Example:
description = "Create a new UI component and test file" - Prompt: Add a
promptkey. The value for this key will be a multi-line string containing the detailed instructions for the Gemini model. This prompt will be sent to the model whenever the command is executed.Understanding Arguments (Args): Within the prompt, you can use
{{args}}to reference any text provided by the user after the command name. This allows the command to be dynamic and accept user input, such as a description of the component to be created.
4. Construct the Detailed Prompt
The prompt is the core of your custom command. It should include a series of instructions for Gemini to follow. Here’s a breakdown of the prompt used in the example:
- Initial Check: The prompt first instructs Gemini to run a shell command (e.g.,
git status) to check for any uncommitted, unstaged, or untracked changes. If any are found, the process should be aborted, and the user should be notified. This ensures that new work is not accidentally mixed with existing uncommitted changes.Expert Note: This safety check is crucial for maintaining a clean Git history and preventing data loss.
- Component Creation Instructions:
- Specify that a new view component for your application framework (e.g., Nuxt.js) should be created based on the user’s description provided via
{{args}}. - Derive Branch Name: Instruct Gemini to create a safe, descriptive branch name based on the component description. The format should be
component/slug, where the slug is in lowercase kebab-case. - Switch Branch: Tell Gemini to switch the user to this newly created branch. Provide an example Git command like
git switch -c component/avatar. Again, reiterate the abortion of the process if uncommitted changes are detected. - Create Test File: Instruct Gemini to create a new test file for the component in the appropriate directory (e.g.,
test/nuxt). The tests should be meaningful and based on the component’s expected behavior. Advise against running the tests immediately. - Create Component File: Instruct Gemini to create the new component file in the designated components directory (e.g.,
components/). The component name should be derived from the description and formatted in camelCase, maintaining consistency with existing file naming conventions. - Run and Verify Tests: Once the component is created, Gemini should run the tests for that component. If any tests fail, it should fix the component and re-run the tests until all tests pass.
- Render Preview: After all tests pass, Gemini should render examples of the new component on a designated preview page (e.g., an empty preview page in your project). This allows for easy visual inspection in a browser.
- Summarize Actions: Finally, instruct Gemini to provide a brief summary of all the actions it has taken.
- Specify that a new view component for your application framework (e.g., Nuxt.js) should be created based on the user’s description provided via
Example Prompt Snippet (within component.toml):
prompt = """
Before doing anything, run a shell command to see if there's any uncommitted, unstaged, or untracked changes on the current branch. If there are uncommitted, unstaged, or untracked changes, abort this process and tell the user. Do not go any further.

You will be making a new view component for the Nuxt app as described here: {{args}}

Your job is to:
1. Derive a safe branch name based on that component description. The format of the branch should be `component/slug` where slug should be lowercase letters, kebab-case, and relatively short but descriptive.
2. Run a shell command to switch to the new branch. If there's uncommitted changes, tell the user about the process and do not continue.
3. Create a new test file for the component in the `test/nuxt` directory and write a small suite of meaningful tests based on the expected behavior of the new component. Do not run the test yet.
4. Make the new component in the `components` directory. The name of the component can be derived from the component description and should be camelCase. Keep file names consistent with existing conventions.
5. When the component is created, run the tests for the component to make sure they all pass. If some fail, fix the component and rerun the test until they all pass.
6. Once everything passes, render examples of the new component in the preview page.
7. Finally, briefly summarize what you have done to the user.
"""
5. Restart Gemini CLI
After creating or modifying custom command files, you need to restart the Gemini CLI session for the changes to be recognized.
- In your Gemini CLI chat window, type
/quitand press Enter to exit the current session. - Type
geminiand press Enter to start a new session.
6. Execute the Custom Command
Now you can use your new custom command. To test the safety feature, ensure you have uncommitted changes in your project.
- Make a small, uncommitted change to any file in your project (e.g., modify the README).
- In the Gemini CLI chat, type
/componentfollowed by a description of the component you want to create. For example:/component a circular avatar component which takes in an initial prop and a BG color prop which should be limited to a few color choices - Press Enter. Gemini will first prompt you to allow it to run
git status. Allow it.If uncommitted changes are detected, Gemini will abort the process and inform you, as per the prompt’s instructions.
- Commit or stash your changes to resolve the conflict.
- Re-run the
/componentcommand with your component description. This time, Gemini should proceed through all the steps: creating a branch, generating the component and test files, running tests, and adding examples to the preview page. You will be prompted to allow each major step (like running Git commands or creating files).
7. Verify the Results
Once the command completes, Gemini will provide a summary of its actions. You can then manually inspect the created files and the preview page.
- Check Files: Navigate to your project’s
componentsdirectory to find the new component file, and thetestdirectory for its corresponding test file. Also, check any CSS or styling files that might have been updated. - Review Tests: Examine the generated test suite to ensure it covers the component’s functionality as expected.
- View Preview: Open your project’s preview page in a web browser to see the rendered examples of the new UI component, including different variations and color schemes.
Conclusion
By creating custom commands like the /component command, you can significantly automate the process of generating new UI components, complete with tests and previews. This not only saves time but also ensures consistency and adherence to best practices within your development workflow.
Source: Gemini CLI Tutorial #7 – Custom Commands (YouTube)