Learn the Essentials of Software Testing
This course will guide you through the world of software testing. You’ll start with the basic ideas behind why testing is important. Then, you’ll learn about different kinds of tests and how to use them. Next, you’ll get hands-on experience writing automated tests using Playwright, a popular tool for testing web applications. Finally, you’ll discover how artificial intelligence (AI) is changing software testing, making it easier and faster with tools like TestMU. By the end, you’ll have the knowledge and skills to test software effectively.
Why Software Testing Matters
Writing tests takes time, and it might feel like it slows you down when you need to release features quickly. However, the cost of not testing is usually much higher than the cost of testing. Bugs in software can lead to serious problems, from financial losses to real harm.
Real-World Examples of Failed Testing
- Knight Capital (2012): A software update had a bug that caused the trading system to make bad trades. In just 45 minutes, the company lost $440 million and eventually had to be sold.
- Therac-25 (1980s): Bugs in this radiation therapy machine caused it to give patients massive overdoses of radiation. Several people died, and others were seriously injured.
- Boeing 737 MAX: Software issues in the flight control system were a major factor in two fatal crashes. Inadequate testing of how the software would behave in certain situations was a key problem.
The Cost of Bugs in Production
Even in everyday applications, bugs cost money. Think about a bug that stops people from buying things, a login issue that locks users out, or a security flaw that leads to data theft. Studies show that finding and fixing a bug after the software is released is 10 to 100 times more expensive than finding it during development. This is because fixing bugs in production involves urgent debugging, emergency updates, customer support, and the risk of losing customer trust.
Consider testing like insurance for your code. You spend a little time upfront writing tests, but this helps you avoid potentially huge costs later. Good tests also act as documentation, show how code should work, give you confidence to improve code, help new team members learn faster, and make releasing new features less stressful.
Understanding the Fundamentals of Testing
To build a strong foundation, it’s important to know the different types of tests and when to use them. The Testing Pyramid is a helpful model for this.
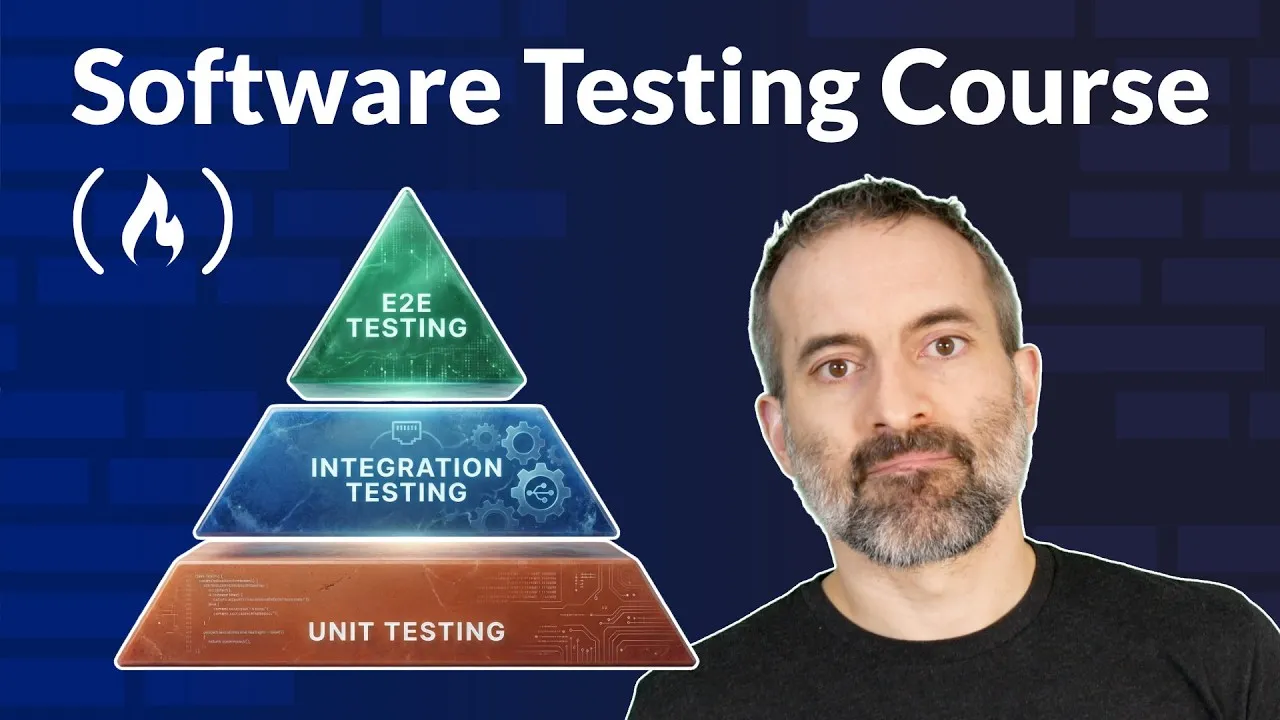
The Testing Pyramid
The Testing Pyramid, popularized by Mike Cohn, helps balance different types of tests. Imagine a pyramid with three levels:
- Unit Tests (Bottom Level): These are fast, focused tests that check individual pieces of code, like functions or components, on their own.
- Integration Tests (Middle Level): These tests check if different parts of your system work well together.
- End-to-End (E2E) Tests (Top Level): These tests check your entire application from a user’s point of view, like a real person would use it.
The pyramid shape shows that you should have many unit tests, a good number of integration tests, and fewer end-to-end tests. Tests become slower, more expensive to maintain, and more likely to break as you move up the pyramid. Unit tests run in milliseconds, while E2E tests can take minutes.
Unit Tests
Unit tests focus on testing a single piece of code in isolation. For example, a unit test for a function that calculates a shopping cart’s total price would call the function with specific items and check if the correct total is returned. Unit tests are fast, reliable (they don’t depend on outside systems), and precise. When a unit test fails, you know exactly where the problem is.
Integration Tests
Integration tests check if different components work together correctly. For instance, an integration test might verify that your website’s front end can correctly send information to the back end, or that your payment system works with a payment service. These tests catch bugs that unit tests miss, especially bugs that appear only when different parts of the system interact.
End-to-End (E2E) Tests
E2E tests act like a real user. They interact with your application by clicking buttons, filling out forms, and navigating through pages, just as a user would. These tests are powerful because they check the whole system, but they are also slower, more complex, and can break more easily if the user interface changes.
Other Specialized Test Types
- Smoke Tests: Quick tests to make sure basic functions work, like checking if the application starts.
- Regression Tests: Tests that ensure features that used to work are still working after changes have been made.
- Performance Tests: Tests that measure how fast your application responds when many users are using it.
- Security Tests: Tests that look for weaknesses, like ways hackers could steal information.
- Accessibility Tests: Tests that check if your application can be used by people with disabilities.
What to Test
When deciding what to test, focus on these areas:
- Happy Path: Test the main way users interact with your features.
- Edge Cases: Test unusual situations, like empty inputs, maximum values, or special characters, to see how the system handles them.
- Error Handling: Test what happens when things go wrong to ensure the application fails gracefully.
- Business-Critical Features: Focus on features where bugs would be the most costly or damaging.
You don’t always need to test absolutely everything. Focus your efforts on what matters most.
Test-Driven Development (TDD)
Test-Driven Development (TDD) is a practice where you first write a test that fails. Then, you write just enough code to make the test pass. Finally, you improve the code while making sure the tests still pass. TDD can lead to better code design, but it’s not always practical. Use it when it helps, but don’t force it.
Getting Hands-On with Playwright
Now, let’s put this knowledge into practice by writing automated tests using Playwright. Playwright is a popular JavaScript testing framework developed by Microsoft that supports testing across different browsers like Chrome, Firefox, and Safari.
Setting Up Playwright
- Get the Sample Application: The course uses a sample e-commerce application called TechMart. You can find its code on GitHub. Navigate to the sample app directory in your project.
- Install Dependencies: Run
npm installto install all necessary packages for the application. - Start the Application: Run
npm startto launch the TechMart store. You can then visithttp://localhost:3000in your browser to see it. - Navigate to the Testing Directory: Go to the
cd tests/traditionaldirectory in your project. - Install Playwright: Run
npm installagain in this directory to install Playwright and its related packages. - Configure Playwright: The
playwright.config.jsfile in this directory contains settings for Playwright. It tells Playwright where your tests are, which browsers to test on (like Chromium, Firefox, WebKit), and where your local application is running. It also sets up helpful features like taking screenshots or recording videos when tests fail. - Install Playwright Browsers: Run
npx playwright install. This command downloads the specific browser versions needed for your tests. - Run Existing Tests: Execute
npm test. This command runs all the tests that are already set up for the application. Wait for them to complete. - View Test Report: After the tests run, you can see a detailed report by running
npx playwright show-report. This opens the report in your web browser, showing which tests passed and details about each one.
Understanding Playwright Test Structure
Playwright test files, like homepage.spec.js, follow a common structure:
- Imports: You import
testandexpectfrom Playwright.testis used to define test cases, andexpectis used for making checks (assertions). describeBlock: This groups related tests together. For example,test.describe('Homepage', ...)groups all tests related to the homepage.beforeEachHook: This code runs before every single test within its block. In the example, it navigates to the homepage and clears the cart, ensuring each test starts from a clean state.- Individual Test Case: A test case is defined using
test(...). It includes a description of what the test does. Theasync pageparameter gives you access to thepageobject. Thepageobject acts like a remote control for the browser, allowing you to navigate, click, type, and check elements. - Assertions: Lines starting with
expect(...)check if certain conditions are true. For example,expect(page).toHaveTitle(/TechMart/);checks if the page title contains ‘TechMart’.
Writing Your First Test: Search Functionality
Let’s write a test to check the search functionality:
- Define the Test: Add a new test case like
test('should filter products when searching', async ({ page }) => { ... });. - Locate the Search Input: Use
page.locator('#searchInput')to find the search input field by its ID. Store this in a variable likeconst searchInput = page.locator('#searchInput');. - Type in the Search Box: Simulate a user typing by using
await searchInput.fill('keyboard');. - Click the Search Button: Find and click the search button with the code
await page.locator('#searchButton').click();. - Wait for Results: Sometimes, the page needs a moment to update. You can use
await page.waitForTimeout(500);to pause for 500 milliseconds. Playwright has other ways to wait for specific conditions, which are often better than fixed timeouts. - Verify Results: Check that the correct products appear. Use
const products = page.locator('.product-card');to find all product cards. Then, assert that there’s only one:await expect(products).toHaveCount(1);. - Verify Product Text: Finally, check if the product displayed contains the text ‘keyboard’ using
await expect(page.locator('.product-card')).toContainText('keyboard');.
Locator Strategies: Finding Elements
Finding elements on a page (locators) is a key skill. You can locate elements using various strategies:
- By ID (e.g.,
#searchInput) - By Class (e.g.,
.product-card) - By Text Content (e.g.,
page.getByText('Add to Cart')) - By Role (e.g.,
page.getByRole('button', { name: 'Login' })) - By Placeholder Text
- By combining CSS selectors
Tip: Prefer locators that are stable and meaningful, like IDs or data-test-id attributes. Text content is good for buttons and links. Avoid selectors that rely too much on the exact structure of the page’s code, as these can break easily.
Testing More Complex Scenarios
Let’s look at testing the shopping cart and login forms.
Shopping Cart Tests (cart.spec.js)
When testing the cart, you often follow a pattern:
- Perform an Action: Click the ‘Add to Cart’ button for a product.
- Verify Immediate Feedback: Check for a confirmation message, like a toast notification, that appears right after the action.
- Verify State Change: Check if the cart count at the top of the page has updated correctly.
This pattern of Action -> Feedback -> State Change is fundamental to good testing.
Login Form Tests (auth.spec.js)
Testing forms involves checking both successful logins and error cases:
- Successful Login: Fill in valid credentials, submit the form, and verify that you are redirected to the homepage. Even if there isn’t an explicit
expectfor the redirect, the test will fail if the navigation doesn’t happen. - Error Handling: Test what happens with invalid inputs. For example, test mismatched passwords by filling in one password and then a different one in the confirmation field. Verify that the correct error message appears (e.g., ‘Passwords do not match’).
Testing both success and failure scenarios (the ‘happy path’ and error handling) is crucial for robust applications.
Checkout Flow Tests (checkout.spec.js)
End-to-end tests for complex flows like checkout can be long. They involve filling out multi-step forms, using methods like fill for text inputs and selectOption for dropdowns. You’ll use multiple assertions to verify the entire outcome of the checkout process.
API Testing with Playwright
Playwright isn’t just for testing the user interface. It can also test your application’s API directly, which is often faster than UI tests.
GET Request Example (api.spec.js)
To test a GET request:
- Make a GET request to your API endpoint (e.g.,
/api/products). - Use
expect(response.ok()).toBeTruthy();to check if the request was successful. - Check the status code:
expect(response.status()).toBe(200);. - Parse the JSON response:
const responseBody = await response.json();. - Assert properties of the response, like checking if it’s an array and if it has the expected number of items (e.g.,
expect(responseBody).toHaveLength(6);).
POST Request Example (api.spec.js)
To test a POST request (like adding an item to the cart):
- Send a POST request to the appropriate URL with the necessary data.
- Check the response message and verify that the data was updated correctly (e.g., check the length of an array or specific product details).
Combining UI and API tests provides comprehensive coverage for your application.
Running Your Tests Effectively
Playwright offers several ways to run your tests:
- Run All Tests:
npm testruns all tests in the default configuration. - Headed Mode:
npm run test --headedruns tests with a browser window visible, so you can watch them execute. - Interactive UI Mode:
npm run test uiopens an interactive Playwright UI where you can run tests, see results, and debug more easily. - Run Specific Files:
npx playwright test tests/cart.spec.jsruns only the tests in the specified file. - Run Tests by Pattern:
npx playwright test -g loginruns all tests whose descriptions include the word ‘login’.
Handling Failed Tests
When a test fails, Playwright provides detailed information:
- Error Details: You’ll see the expected outcome versus the actual outcome.
- Call Log: A log of actions performed during the test.
- Screenshots & Videos: Playwright can capture screenshots or record videos on failure for visual debugging.
- Error Context: A markdown file with detailed error information.
You can view test results and failures in the Playwright Test Report, which can be opened with npx playwright show-report or by running npm run test:report.
Advanced Testing Techniques
To become a more experienced tester, consider these advanced techniques:
Testing Edge Cases and Error Handling
Real users don’t always follow the expected path. Test scenarios like:
- Empty Inputs: What happens when a user searches without typing anything? The application should ideally show all products or handle it gracefully.
- Special Characters: Test how the search handles random characters or common web attack patterns (like basic script tags). This helps prevent cross-site scripting (XSS) vulnerabilities. The goal is to show no results or handle them safely without executing code.
- Invalid Data: Ensure that forms handle incorrect or unexpected data without crashing.
Testing these edge cases and error conditions ensures your application is robust and secure.
Mocking API Responses
(This section was not detailed in the provided transcript but is a common advanced technique.)
Accessibility Testing
(This section was not detailed in the provided transcript but is a common advanced technique.)
The Role of AI in Software Testing
AI is transforming software testing by making it more accessible and efficient.
AI-Powered Tools
Tools like TestMU use AI to allow you to write tests using plain English instead of complex code. This can significantly lower the barrier to entry for creating automated tests. AI can help identify potential bugs, generate test cases, and even suggest fixes, making the testing process faster and more comprehensive.
Benefits of AI in Testing
- Increased Accessibility: Testers with less coding experience can write automated tests.
- Improved Efficiency: AI can speed up test creation and execution.
- Enhanced Coverage: AI can help identify edge cases or scenarios that human testers might miss.
By embracing AI tools, teams can build higher-quality software more quickly.
Source: Software Testing Course – Playwright, E2E, and AI Agents (YouTube)