Anthropic’s Claude Design Builds Interactive Prototypes
Anthropic has launched Claude Design, a new visual tool that uses its most advanced model, Opus 4.7. This tool allows users to create not just static designs, but also interactive prototypes.
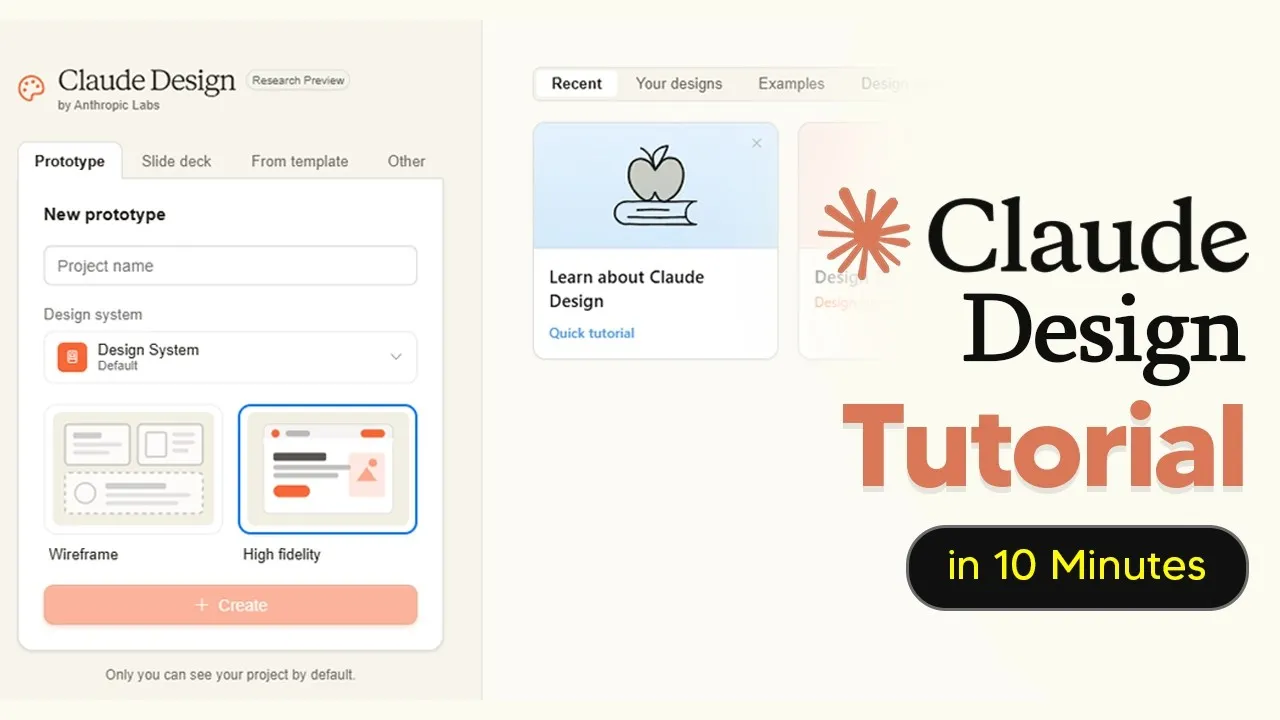
You start by typing a request, and Claude generates an initial version. You can then refine this draft, creating a continuous loop of improvement.
What sets Claude Design apart is its ability to generate code-powered prototypes. These aren’t just flat images; they can be clickable interfaces, slide decks, landing pages, and even interactive experiences that include voice, video, 3D elements, and shaders. The tool is meant to speed up the initial design phase, not to replace dedicated design software like Figma.
Getting Started with Claude Design
To begin using Claude Design, you need to visit claude.ai/design. However, access is not free.
Users must have either a Pro or Max subscription plan from Anthropic. Many users find that their usage limits are reached quickly, especially when pushing the tool’s capabilities.
It’s recommended to monitor your usage closely. After signing in, click your icon, then go to Settings, and then Usage.
Claude Design has a separate weekly usage limit that is distinct from other Claude model limits. Keeping this tab open and checking your usage after each prompt can help prevent unexpected overages.
Setting Up Your Design System
Before creating designs, it’s highly beneficial to set up a design system. This acts like a brand guide for the AI, ensuring that its outputs are consistent with your brand’s look and feel. Setting this up manually can be time-consuming, so using AI to help is a good option.
To create a design system, you can use the chat feature with an AI that supports image uploads. Provide your logos and brand colors, and ask the AI to create a style or brand guide.
This gives Claude Design the specific details it needs to design on-brand from the start. If Claude doesn’t recognize your fonts, you may need to upload them directly.
After generation, you’ll need to review items that need attention. You can approve or reject suggestions, and provide feedback like “looks good” or “needs work.” It’s important to go through these reviews carefully. While it might seem tedious, approving correctly now saves you time and potential usage costs on future edits.
Creating Wireframes and High-Fidelity Designs
Claude Design offers two main modes for creation: wireframe and high fidelity. A wireframe is a basic, low-detail layout, while high fidelity provides a much more complete and polished design.
When creating a landing page for an AI newsletter, for example, you can start with a prompt like “Create me a landing page for my AI newsletter.” Claude will ask clarifying questions to refine the design. You can then choose between different layout options, such as a “stat-led build.”
Wireframes are useful for previewing potential designs and making detailed edits before committing to the full version. This saves time and allows for user experience improvements.
You can use the edit button to make specific text changes, adjust colors, margins, and radii, or even use a draw icon for more visual modifications. This granular editing saves tokens compared to simply re-prompting.
Once you are satisfied with the wireframe, you can instruct Claude to turn it into a high-fidelity design. For instance, you might say, “Turn the stat-led build into a high-fidelity landing page, no longer a wireframe.” Be mindful of usage as this process can consume a significant portion of your allowance.
Advanced Features: Tweaks and Animations
A powerful feature in Claude Design is “tweaks.” This allows for on-the-fly design changes without requiring a full re-render, saving tokens. You can find examples of this in the “Examples” section, such as an “iridescent card” or a “construction kit calculator.”
For the iridescent card example, the prompt included “Add tweaks for as many aspects of this effect as you can.” This allows users to adjust elements like hue, glow, or noise using simple controls. Similarly, the calculator example uses tweaks to alter shape, size, and alignment, acting like granular editing buttons instead of full re-prompts.
Claude Design can also create animations. While impressive, these are very computer-intensive and can quickly deplete usage limits.
A prompt for a sprite-based animation about celestial bodies might produce a visually appealing result, but it could use up most of your allowance for a single 60-second video. Basic animations are possible, but complex motion graphics are not the focus.
Leveraging Claude Design’s Skills
Claude Design has a range of built-in “skills” that optimize its output for specific tasks. You can find these by clicking on “Design System.” These skills include formats for animated videos, interactive prototypes, slide decks, front-end design, wireframes, PowerPoint presentations, and PDF creation.
Using these pre-defined skills before starting a prompt can lead to better results. For instance, selecting the “animated video” skill will guide Claude to produce animated videos more effectively than a general prompt. Always ensure your design system is selected when creating any new design to maintain brand consistency.
The platform also allows for managing multiple projects and design systems. You can rename or delete projects and create new design systems for different brands. This flexibility makes Claude Design adaptable for individuals or teams managing various branding efforts.
Claude Design is available now via claude.ai/design for Pro and Max subscribers.
Source: How To Use Claude Design – Tips And Tricks Most People Missed (YouTube)