How to Use TSConfig Paths for Cleaner JavaScript Imports
Are you tired of typing out long, complicated import paths in your JavaScript projects? It can be frustrating when you have to write something like `../../../../components/Button` just to use a button component.
This problem becomes even more annoying as your project grows and your file structure gets deeper. Thankfully, if you’re using TypeScript, there’s a simple way to fix this using your `tsconfig.json` file.
This guide will show you how to set up path aliases in your TypeScript configuration. You’ll learn to replace those messy relative imports with clean, absolute paths.
This will make your code easier to read, write, and maintain. We’ll also cover how to make sure your code bundler understands these new paths.
Prerequisites
- A JavaScript or TypeScript project.
- A `tsconfig.json` file in your project’s root directory.
- Familiarity with basic JavaScript imports and exports.
- A build tool like Vite, Webpack, or Parcel (optional, but recommended for production builds).
Step 1: Open Your `tsconfig.json` File
The `tsconfig.json` file is where you tell the TypeScript compiler how to handle your project. You’ll find this file in the main folder of your project.
If you don’t have one, you can create it by running `tsc –init` in your project’s terminal. This command generates a default configuration file for you.
Step 2: Add or Modify `compilerOptions`
Inside your `tsconfig.json` file, locate the `compilerOptions` section. If it doesn’t exist, you’ll need to create it. This section is where we’ll add the magic for our path aliases.
The `compilerOptions` object holds various settings for the TypeScript compiler. We need to add a new property called `paths` within this object. This `paths` property will allow us to define custom shortcuts for our import statements.
Step 3: Define Your Path Aliases
The `paths` property should be an object. Each key in this object is an alias you want to create, and its value is an array of paths that the alias will point to. Think of it like creating custom shortcuts for your folders.
For example, let’s say you want all imports starting with `@/` to point to your project’s `src` folder. You would add the following to your `compilerOptions`:
"compilerOptions": {
"baseUrl": ".",
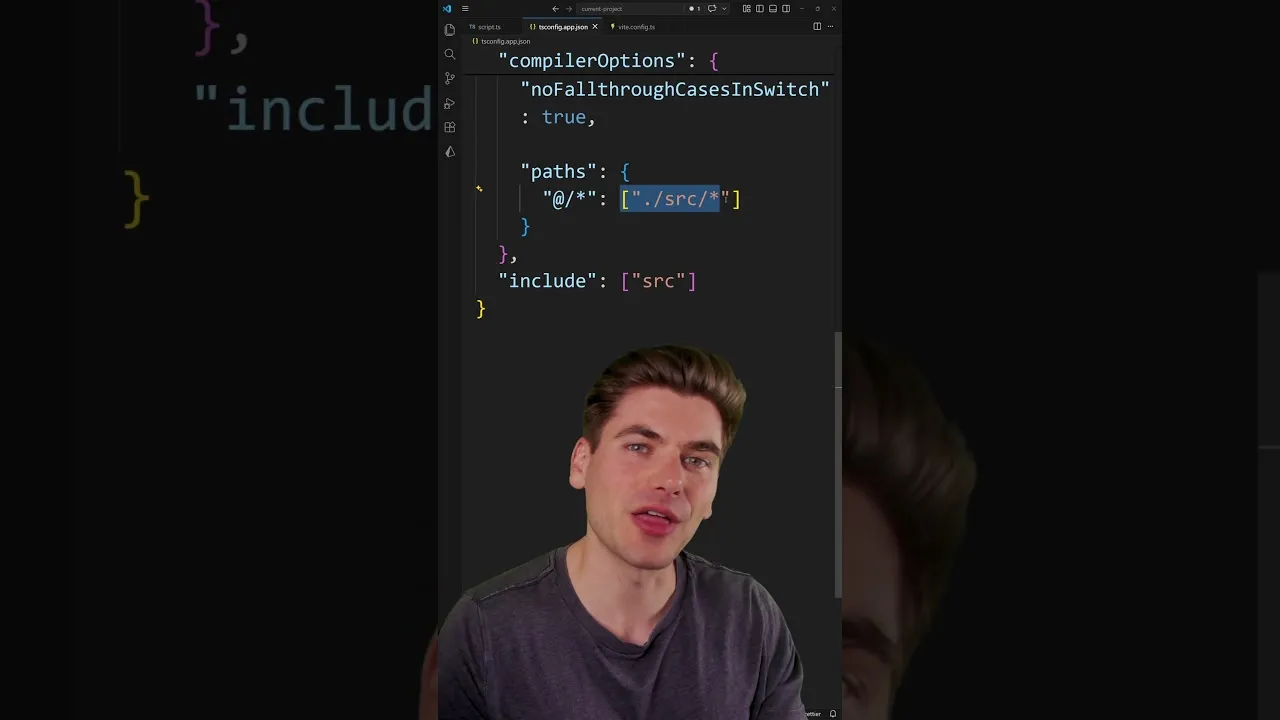
"paths": {
"@/*": ["./src/*"]
}
}
In this example, `@/*` is the alias. The `*` acts as a wildcard.
When TypeScript sees an import like `@/components/Button`, it will replace `@/` with `./src/`. So, the actual import will become `./src/components/Button`.Understanding the Parts
"baseUrl": ".": This tells TypeScript to resolve module requests relative to the directory containing the `tsconfig.json` file. It's important for `paths` to work correctly."@/*": ["./src/*"]: This is the core of the alias."@/*"is the pattern for the alias.["./src/*"]is the target path. The asterisk*matches any characters after the alias prefix and applies them to the target path.
Step 4: Update Your Imports
Now that you've set up the alias, you can start using it in your code. Instead of writing long relative paths, you can use your new alias. For instance, if you previously had an import like this:
// Before
import Button from '../../components/Button';
You can now change it to:
// After
import Button from '@/components/Button';
This change makes your imports much cleaner and easier to understand. It also makes refactoring your project simpler, as you only need to update the `tsconfig.json` if you move the `src` folder, not every single import statement.
Step 5: Configure Your Build Tool (Important!)
While TypeScript understands these paths during development, your JavaScript bundler (like Vite, Webpack, or Parcel) might not automatically. You need to tell your bundler to respect the `paths` defined in your `tsconfig.json` file. The exact configuration depends on the bundler you are using.
For Vite Users
If you are using Vite, configuring path aliases is straightforward. You need to modify your `vite.config.js` (or `vite.config.ts`) file. Add or update the `resolve.alias` option to include your TypeScript path aliases.
Here's how you can do it:
// vite.config.js
import { defineConfig } from 'vite';

export default defineConfig({
 resolve: {
 alias: {
 '@': '/src',
 },
 },
});
Vite is smart enough to read your `tsconfig.json` and automatically handle these aliases if you set `resolve.alias` this way. This ensures your production builds work correctly with the cleaner import paths.
For Webpack Users
If you use Webpack, you'll configure this in your `webpack.config.js` file. You'll need to use the `resolve.alias` option, similar to Vite, but the syntax might differ slightly.
// webpack.config.js
module.exports = {
 //... Resolve: {
 alias: {
 '@': path.resolve(__dirname, 'src/'),
 },
 //...
 },
 //...
};
Make sure to import the `path` module at the top of your Webpack configuration file. This setup allows Webpack to correctly resolve your aliased imports during the build process.
Step 6: Test Your Changes
After setting up your `tsconfig.json` and your bundler configuration, it's time to test. Run your development server or build your project.
Check if your application still runs without errors. Make sure all your components and modules are importing correctly using the new aliases.
You can also run your TypeScript compiler directly using `tsc` to check for any type-checking errors related to your new paths. This step confirms that TypeScript itself recognizes the aliases and resolves them correctly.
Troubleshooting
If you encounter errors, double-check the syntax in your `tsconfig.json` and your bundler's configuration file. Ensure the `baseUrl` is set correctly and that the alias pattern and target path match your project structure. Sometimes, restarting your development server or clearing your bundler's cache can resolve unexpected issues.
Conclusion
By using the `paths` option in your `tsconfig.json`, you can significantly clean up your import statements. This makes your codebase more readable and maintainable.
Remember to configure your build tool to match these settings. Start implementing path aliases today to enjoy a smoother development experience.
Source: You Need To Use This TSConfig Setting (YouTube)