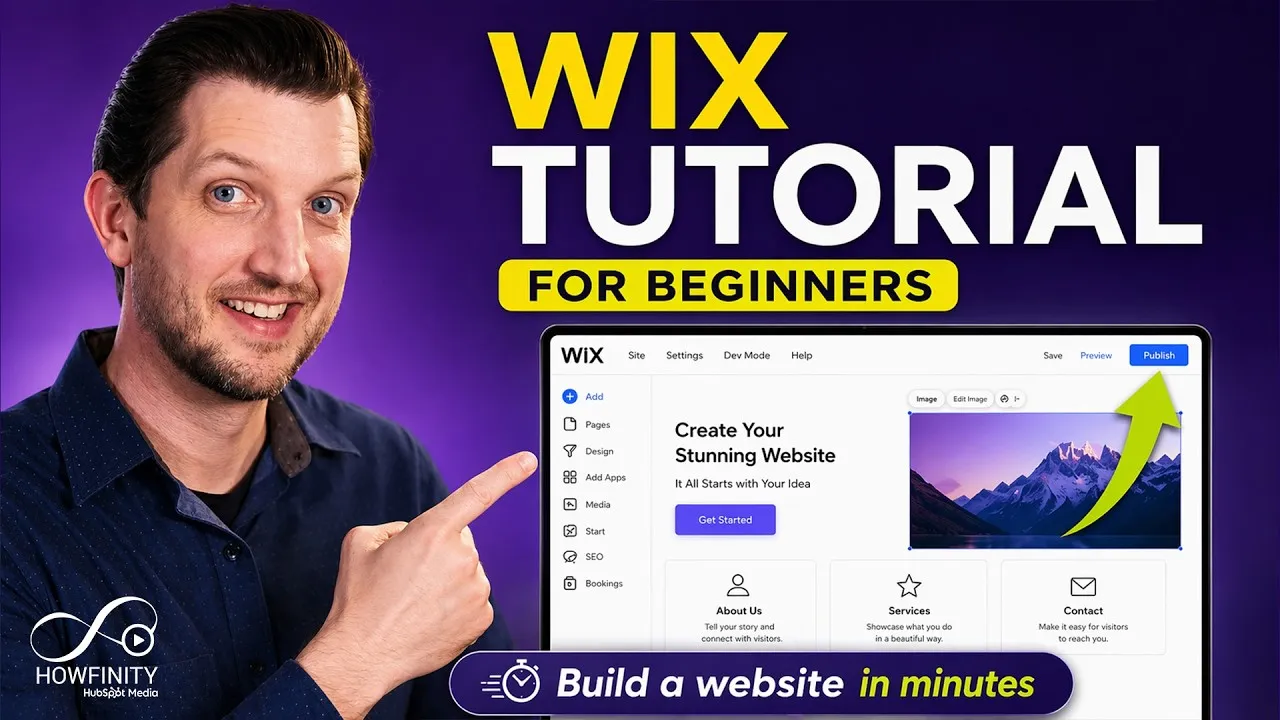
How to Build Your First Website in Minutes With Wix
This guide will walk you through creating your own website using Wix, even if you’ve never built one before. You’ll learn how to sign up, choose a template, customize your content, and publish your site quickly.
Prerequisites
You will need an internet connection and a web browser to follow along.
Steps to Create Your Wix Website
Sign Up for a Wix Account
Start by going to wix.com and clicking the “Get Started” button. You can sign up using your email address or connect with your Google or Facebook account. Wix will ask for some basic information about your website’s purpose.
Choose Your Website Building Method
After providing initial details, Wix may offer an AI chat to build your site instantly. For more control, choose to set up without the AI chat. You will then specify your website’s purpose, like showcasing a YouTube channel, and give it a name.
Next, select your website’s goals, such as driving subscriptions, promoting content, or connecting with your audience. Wix will then suggest templates based on your input.
Add Apps to Enhance Your Website
Wix offers various apps to add more features to your site. You can add a portfolio to showcase your work, a blog, or integrate your Instagram feed. These apps can be added now or at any time later.
For this guide, we will skip adding apps for now to focus on the basics.
Set Up Your Domain Name
Once you reach your dashboard, you’ll see an option to set up your domain. You can connect a domain you already own or purchase a new one through Wix. If you don’t set up a custom domain, Wix will provide a generic URL, which can be long and hard to remember.
For example, if “Andy Canode Show” is already taken, you might try “andycanode.net” or other suggestions. You can connect a domain to your site or purchase it.
Design Your Website
Click on “Design Site” to begin customizing your website’s look. You can let Wix’s AI generate the design or choose from various templates. Preview a template, like the “Production Company” option, to see if it fits your needs.
If you like a template, click “Edit Site” to start making changes. You can also use Wix’s AI to help generate content, such as changing “Welcome to Andy Canode Show” to reflect your channel.
Understand the Wix Editor
The Wix editor is where you’ll spend most of your time designing. Your website is made up of pages, which are listed on the left-hand side. Common pages include the homepage, about us, and contact.
Each page is divided into sections, like an introduction or a video grid. Hovering over a section highlights it, and you can add new sections or delete existing ones. Sections are made up of individual elements.
Add and Customize Elements
Elements are the building blocks of your website, such as text, images, and buttons. To add an element, click “Add Element” in the side panel, choose what you want, and drag it onto your page. You can then right-click the element to change its settings, like the link for a button or the design.
You can customize almost everything, including section backgrounds and element designs. For example, you can change a background image to a video or a color. You can also edit text, making it bold, changing its size, color, or adding a highlight.
Expert Tip: When starting, it’s best to pick a template that fits your needs. Then, focus on updating the existing information. The AI can help speed up this process by suggesting content.
Customize Content and Design
Go through each section and element to update the content. Change background images by selecting from Wix’s media library or uploading your own. You can search for specific images, like “film reels,” to find suitable visuals.
Edit text by clicking on the text box and using the formatting options. You can change the font, size, color, and alignment to make your text easy to read and visually appealing. You can also adjust the size and position of elements on the page.
Change the Site Theme
Once your content is in place, you can change the overall theme or design of your website. Click on “Site Design” to explore different color schemes and styles. Choosing a theme will update the look across all your pages and elements.
Select a theme that complements your background image and overall style, such as a “Natural” theme. This ensures a consistent and professional look for your entire website.
Add Advanced Apps (Optional)
Wix offers a wide range of apps to add more functionality. You can find apps for business, communication, booking, events, and e-commerce. Explore the app market to find tools that support your website’s specific goals.
Adding apps can significantly enhance your website’s value and capabilities, but start with the basics if you’re new to Wix.
Save and Publish Your Website
Periodically save your work to ensure no changes are lost. Once you are happy with your website and ready to make it public, click the “Publish” button. Wix will provide a free Wix domain, or you can use your custom domain.
After publishing, you can view your live website and test its functionality. Check how it looks on different devices, like your phone, to ensure a great user experience.
With these steps, you’ve successfully built and published your first website using Wix. You can now share your online presence with the world.
Source: Wix Tutorial for Beginners 2026 – Build a Website in Minutes (YouTube)